Create a custom form-specific field validation
How to create a custom validation in the Form Designer in a web form.
A web form validation can help a website visitor enter a correct value in a field on your web form. By default, a custom, form-specific field validation is not configured and the Validation field in the Form Designer in the Validation section displays No Validation.
The rules that define a validation are displayed in the Regular Expression field, and they cannot be modified. However, if the validation is not found in the list of form-specific field validations, you can create a custom one that applies only to that field and form once selected.
To create a custom, form-specific field validation:
In the Form Designer, open the relevant web form and click the field that you want to assign a validation to, for example, Password.
On the left pane, in the Validation section, in the Validation field, click the drop-down arrow and select Custom.
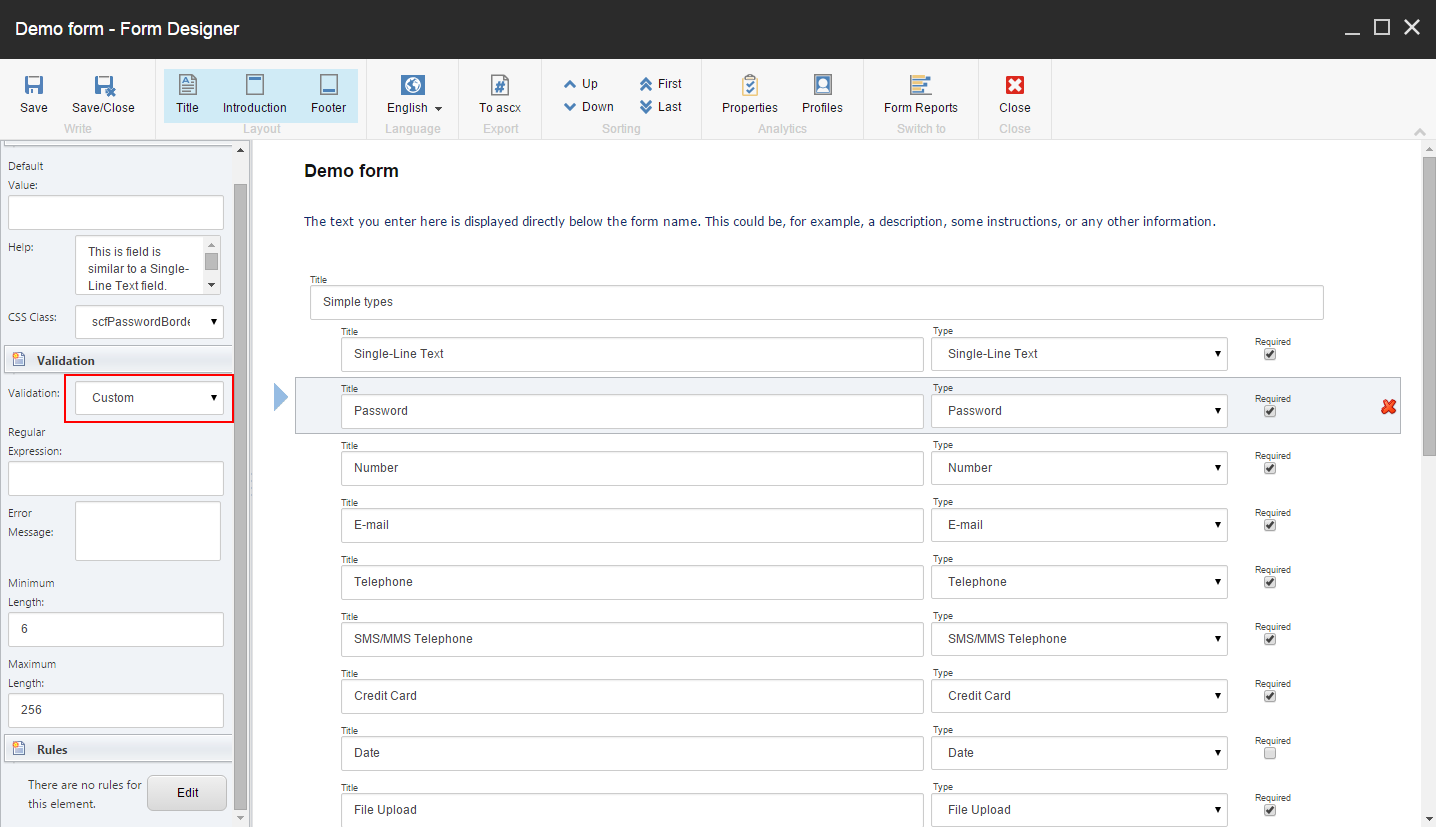
In the Regular Expression field, enter the expression you want to use as a validation.
Note
You can copy and paste a regular expression from another validation in this field and then modify it if necessary. For example, you can use the regular expression for Letters Only (
^[a-zA-Z]*$), and then modify it so it specifies that a user has to enter a combination of upper and lowercase letters.In the Help field, you can enter a description to tell users what type of information to enter.
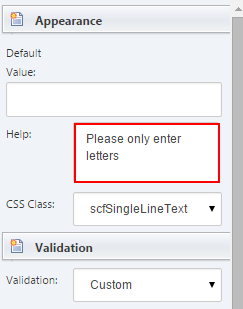
In the Error Message field, you can specify the error message text that you want to appear when a website visitor enters incorrect text or an incorrect value in the field. For example: Please only use letters in this field.
Click Save or Save/Close to save your changes.