Setting up a Commerce Server Site with PowerShell
PowerShell CmdLets let you create Commerce Server sites, add resources, and move data between environments. These CmdLets perform many tasks you would have had to do manually. Previously, PuP packages were the only way to perform these tasks.
For example, previously to set up the Reference Storefront, you would need to:
UnPuP the SolutionStorefront.pup.
Secure the Commerce Server resources:
Set the security type for the web services.
Add users to the AzMan files.
Set write permissions for the Catalog AzMan file.
Secure the Commerce Server databases for each web service and the web site.
Set DCOM permissions for the web site app pool user.
Import catalog and inventory data.
Import profile schema and adjust the database schema with a SQL file.
Import shipping and payment methods with a SQL file.
Discounts are only importable via the PuP package.
Along with those steps, you would need to decide on the correct security permissions to apply for each application pool.
By using CmdLets, the process is more streamlined:
Open a PowerShell window, browse to the Sitecore Website folder, and then run the following CmdLets:
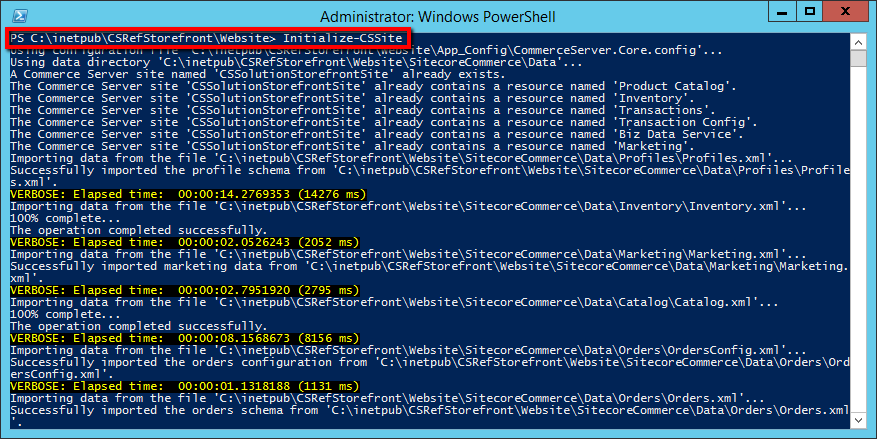
Initialize-CSSiteIf you want to set up the Web Services for the Desktop Business Tools, run the following CmdLets:
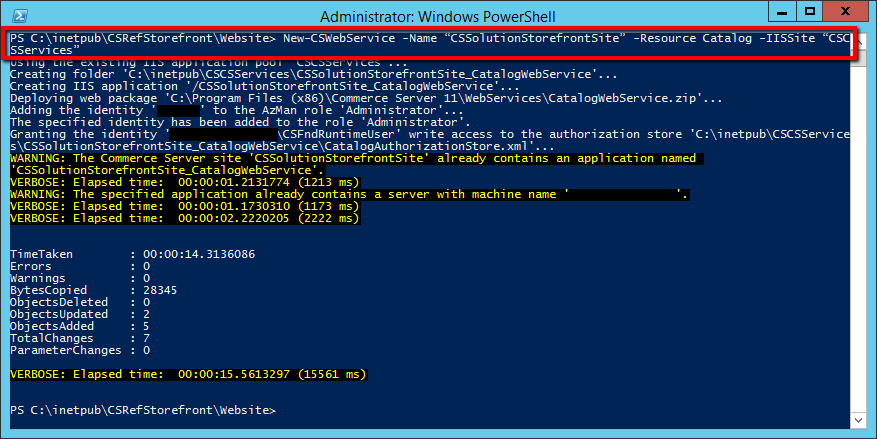
New-CSWebService -Name “CSSolutionStorefrontSite” -Resource Catalog -IISSite “CSServices”
New-CSWebService -Name “CSSolutionStorefrontSite” -Resource Orders -IISSite “CSServices”
New-CSWebService -Name “CSSolutionStorefrontSite” -Resource Profiles -IISSite “CSServices”
New-CSWebService -Name “CSSolutionStorefrontSite” -Resource Marketing -IISSite “CSServices”
Import the Commerce.Storefront.ProfileDatabase.dacpac package to SQL Server to update the database schema of the profile.
By using CmdLets, things such as PuP packages, importing data, SQL files, database security, AzMan security, Web Service security, and DCOM security are no longer concerns. The CmdLets handle those tasks based on convention and best practices. You can override the default behavior by using optional parameters or more granular CmdLets, but the previously explained steps will work for the majority of non-production cases.
The Initialize-CSSite CmdLet works by scanning the Website folder for a file that contains a Commerce Server configuration section. It first scans Website\App_Config\CommerceServer.Core.config, followed by \Website\web.config. Once a configuration section is found, the CmdLet will analyze the configuration xml to see what is the name of the required Commerce Server site, and what resources are needed. Once the requirements are determined, the CmdLet will scan for a Commerce Server site by that name. If a site does not exist, the CmdLet will create it, and then the CmdLet will loop over all of the required resources and create those resources if the site does not already have them.

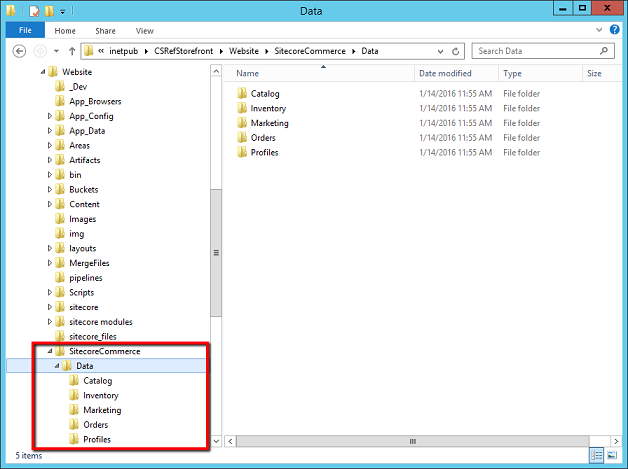
Once the required Commerce Server site and resources have been created, the CmdLets will try to import the data and schema xml files for each subsystem. By default, the CmdLet will scan for a directory called \Website\SitecoreCommerce\Data\, and look inside that directory for directories that match the name of subsystems existing under the Commerce Server site. For each resource directory that exists, the CmdLet will import the data for that subsystem. This means that you can now use Sitecore packages to move your seed data along with your site, which works well for development or small demonstration sites, but would not work as well for scenarios where you have very large catalogs.

Once the Commerce Server site and resources have been created and data has been imported, the CmdLet will try to secure the deployment. The CmdLet will take the user name of the application pool that the Sitecore site is running under, and add that user to the appropriate database and DCOM roles that are determined by the resources being used by the site. By default, this user will be given management level permissions on whatever subsystems are available to the site. For example, this user will be allowed to edit items in the catalog.
The New-CSWebService CmdLet will create the requested subsystem web service for you in the specified IIS Site. Unlike previous releases, web services are set up using Visual Studio Web Deploy packages, which are available inside the Commerce Server install directory. If you have a remote IIS instance, such as in Azure, you can take the Web Deploy packages and deploy them manually into IIS without using the CmdLets.
This CmdLet will also take care of common web service tasks, such as turning on Windows Authentication and turning off Anonymous Authentication. The user ID will also be added to the Administrator Azman role for each web service, so that as soon as the CmdLet is finished running you will have permission to use it. Finally, the application pool user for the catalog web service will be given write access to its AzMan file.

The New-CSWebService CmdLet does not apply database security for application pool users. You can do that by running Initialize-CSSite in the web service folder, or use one of the Grant-CS*ManagementPermissions CmdLets such as Grant-CSCatalogManagementPermissions.
For more information about CmdLets, go to PowerShell CmdLets.