Personalize an email campaign message
Use personalization to deliver targeted content to specific segments of your recipients.
In the Email Experience Manager (EXM), personalization is a technique that you can use to deliver targeted content to specific segments of recipients and, as a result, improve their trust and interest in your company. When you use personalization, you increase the content relevancy and timeliness of your email campaign for each of your customers.
Personalization is a very useful tool when you have identified the specific types of recipients that you want to target your email campaign to. For example, you can create email campaigns that only display the content that each recipient previously has shown an interest in, or content based on accumulated profile values or the pattern card that they match the best.
Scenario: You send a monthly newsletter to a list of subscribers that each include a special offer that is available only for the subscribers and for a limited period. You decide to increase the relevancy of these special offers to the subscribers by changing the offer in the email campaign according to the subscribers’ individual interests. To accomplish this, you personalize the component in the newsletter with the special offer so that subscribers that have previously shown an interest in beach vacations only see offers for these types of destinations, and subscribers that have shown an interest in urban vacations, only see offers for city breaks.
To personalize a component in an email campaign:
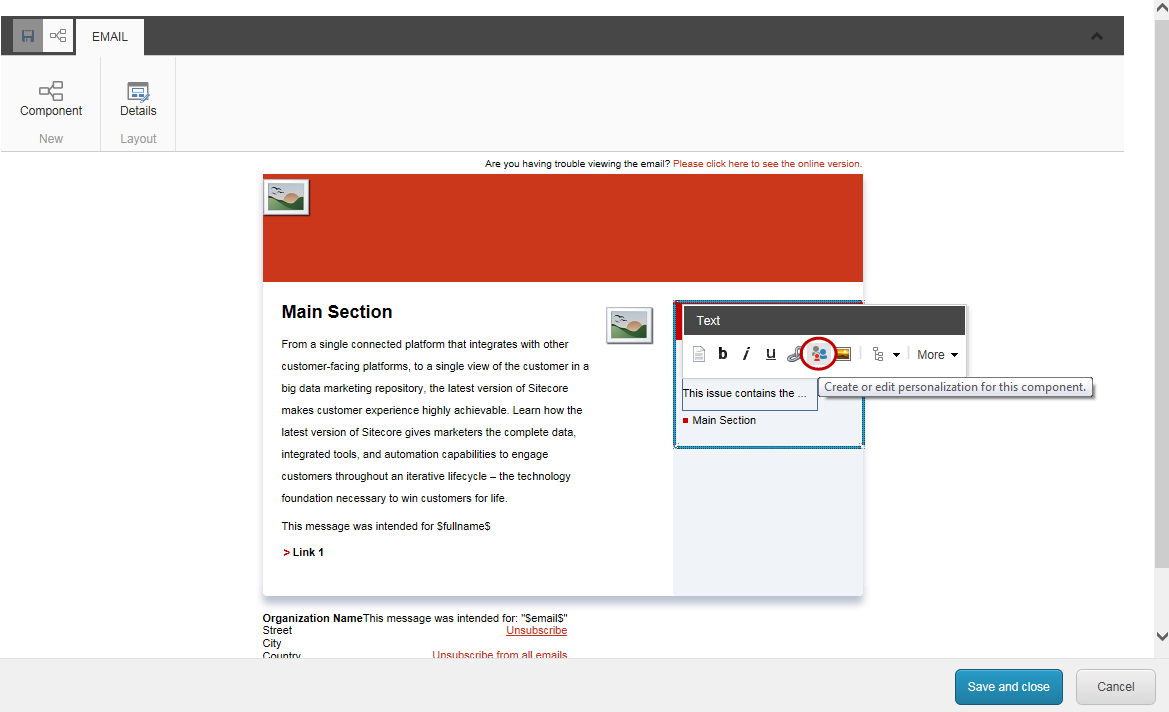
Open the email campaign that you want to personalize, click the Message tab and then click the message body.
In the dialog box that opens, click the component that you want to personalize, and in the floating toolbar that appears, click Personalize the component.

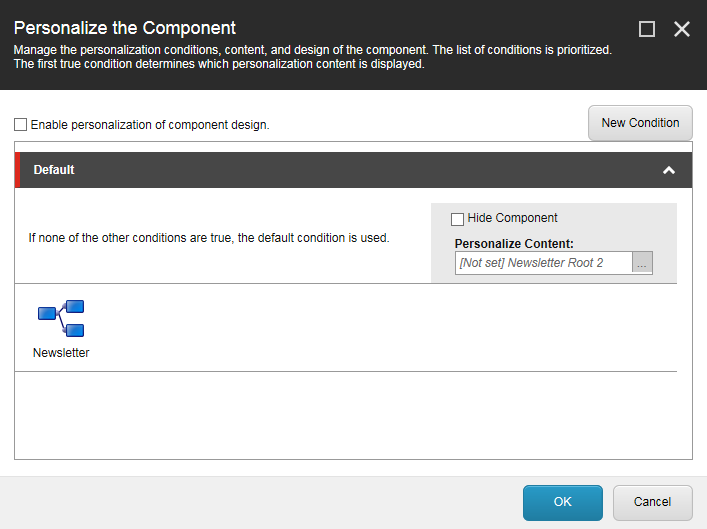
To add personalized content, in the Personalize the Component dialog box, click New Condition and give the new condition an appropriate name.

Note
Sitecore evaluates the personalization rules in the order that they appear in the Personalize the Component dialog box. If the recipient does not satisfy the rule specified in a condition, Sitecore moves on to the next condition, and so on, until the recipient meets one of the conditions. The default condition is used if a recipient meets none of the other conditions.
To add and edit the conditions for when you want the new personalized content and layout displayed, click Edit.
This opens the Rule Set Editor, where you can specify the conditions and actions for when to display the new content, for example, when the recipient has generated a lead score of 50 or more.
In the Personalize the Component dialog box, for each condition that you add, in the Personalize Content field, select the personalized content that you want displayed when the recipients meet the specified conditions.
When you have finished setting up the personalization, click OK.
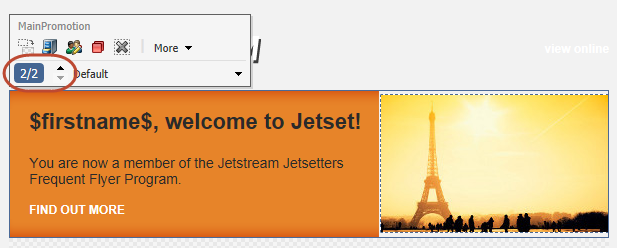
To preview the personalization, in the message body, click the component that you added personalization to, and in the floating menu that appears, use the arrows to switch between the two types of content that you have set up for the component.

Save your changes.