Select the Security Accounts button to add security account source. In Sitecore an account can be either a user or a role.

Important
While transferring security accounts make sure that the target installation contains domains which the transferred security accounts belong to. Create such domains manually if they do not exist in the target installation.
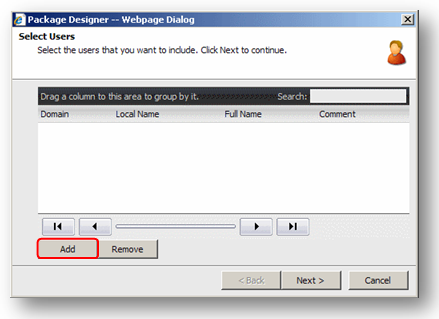
Selecting the Security Accounts button starts the Select Users wizard. Below is the description of its steps and options.
Step 1. Select security accounts you want to include in the source.
Select Add button to view the list of users and roles.

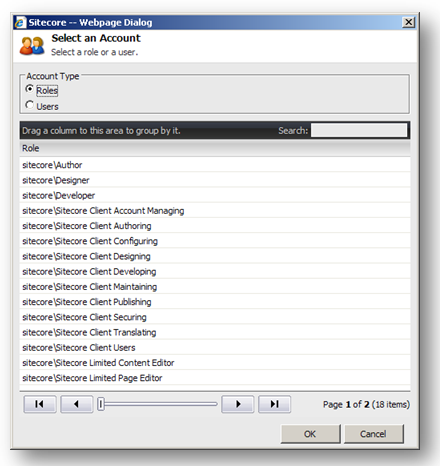
A window which allows you to select users and roles will open.

Choose accounts you want to add to the source. The search is available for quicker access to the needed account. You can press SHIFT or CTRL to select several accounts. Double click an account to add/remove it automatically.
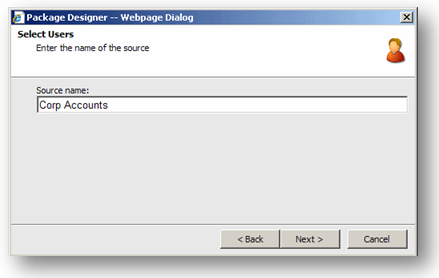
Step 2. Specify the source name.

Specify the source name and select Next button to finish adding security accounts.
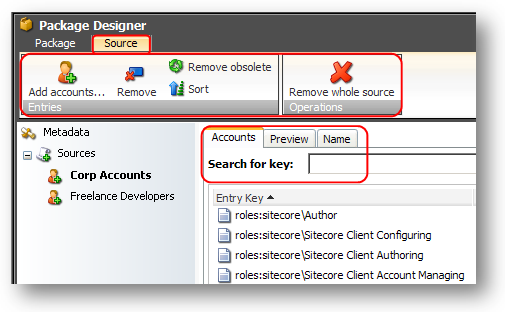
The new source will be added:

Select the newly created source and special tabs for working with this source will appear on the right. You will also see the additional options in the Source tab: 
The Accounts tab shows the list of security accounts included in the source. The Name tab allows to rename the source. The list of source entries keys is available in the Preview tab (when you select the Preview tab for the first time, it is empty; if you select the Lookup button, the list field will show all of the accounts that the currently selected security source will include).
 |
Select to add new security accounts to the source. |
 |
Select to remove the currently selected security accounts from the source. |
| |
Select to remove the entries which no longer exist in the current installation. |
| |
Select to re-sort the entries in the list. |
1. Important Notes
Passwords of transferring users are changed randomly and users become locked. After installing a package you should modify the settings of the transferred users: change users’ passwords and unlock users.