Valid for Sitecore
5.3
Assigning Rights
You can easily assign rights in the Security Editor. All you need to do is select a Role or a User and set the rights. You can read about Rights and assigning access in the Understanding Rights and Assigning Access section. To grant rights to a Role or a User via the Security Editor, follow the steps below:
- Select a Role or a User in the Users chunk.
This will open a tree with the hierarchy of Roles and Users.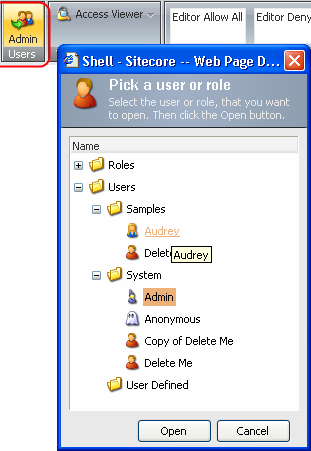
- The Security Editor displays the explicitly set rights for the selected User or Role.
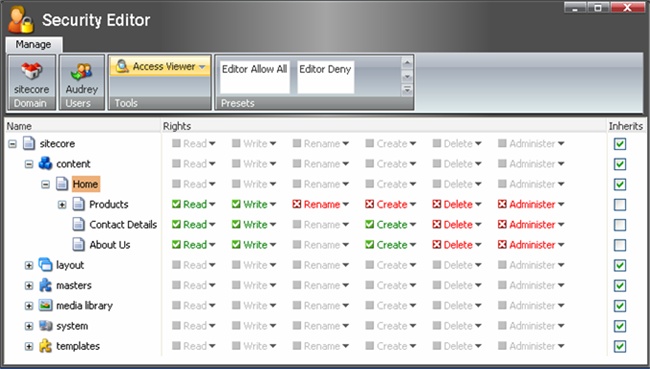
The explicitly set rights settings are colored: 'Green' indicates that the access is granted, 'Red' marks that the access is denied, while the gray/colorless rights are inherited. - Open the content tree and locate the Item for which rights are to be changed.
TIP: Double clicking a right opens or folds the entire substructure for the corresponding Item. - Set the rights for that particular item by clicking on the little arrow to the right, which will open a selection list:
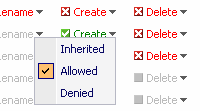
An alternative way is to click on the name of the right itself. The Repeated click will cycle through the three options (Inherited » Allowed » Denied):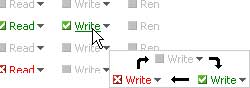
TIP: As unfolding the structure tree may result in many rows, the proper row to the Item can be identified by hovering the mouse over a right. This will display the corresponding Item name.
In the illustration above, the two rows belong to the Masters Item and the Media Library Item.
Note: If the rights for the Item(s) are set, you are not required to hit the Save button. Any changes made in the Security Editor are saved immediately without involving the User. - If you need to set rights for other Users, repeat steps 1-5; otherwise, close the Security Editor.