Walkthrough: Configure engagement analytics in a web form
Configuring engagement analytics in a web form to provide visitor information.
The Web Forms for Marketers module is closely integrated with Sitecore Analytics, which provides functionality for recording and reporting visitor information.
When you fill in and successfully submit a form, the Analytics database records a goal conversion. If a Register Goal save action fails, the Submit Success Event is still registered, but the Goal Conversion event is not registered.
You can also attach and configure profile values to the successful submission of forms.
To configure engagement analytics to work in web forms, you need to do the following:
When you create a web form, by default a Form_Name Form Completed goal is created and associated with the web form. When you associate a goal with a form, you can also enable form dropout tracking. For example, you can use a Form Dropout reports, to see a list of potential sales leads that have shown interest in a product or service but have not successfully registered their details.
To associate a goal with a web form:
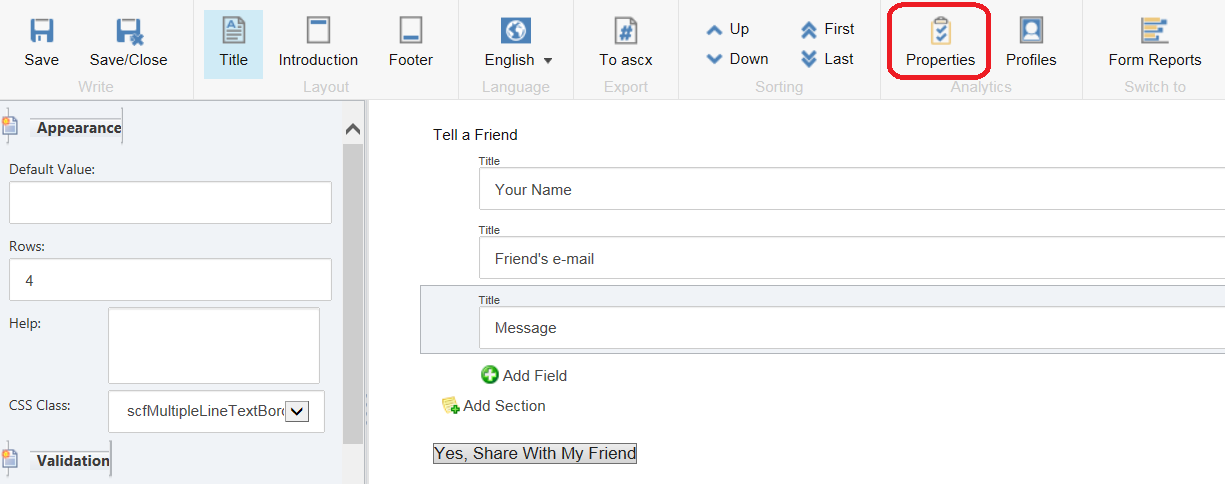
In the Form Designer, in the Analytics group, click Properties.
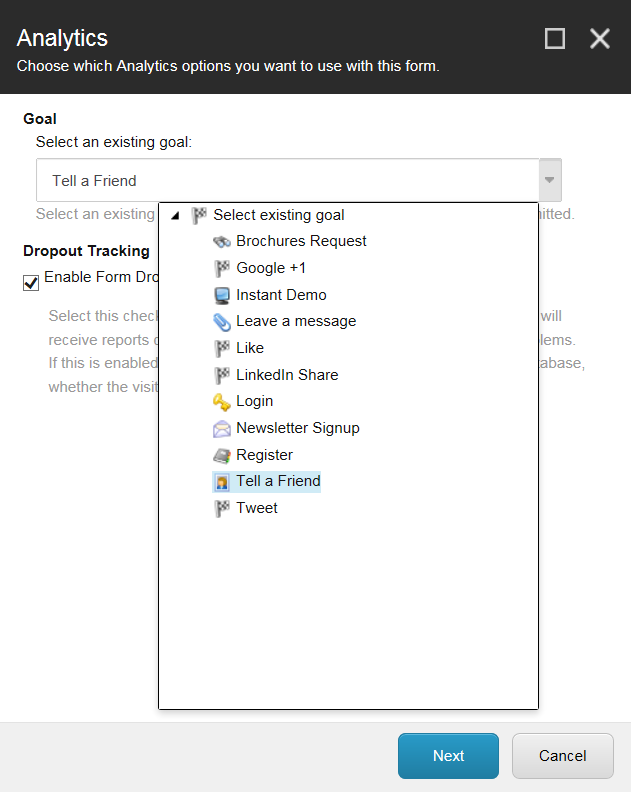
In the Analytics dialog box, in the Goal field, click the drop-down list and select a goal that you want to associate with the form.
Note
You can only associate one goal and/or one campaign with each web form.
To track visitors who attempt to submit forms, select the Enable Form Dropout Tracking checkbox. By selecting this checkbox, you can track all the information entered in the form, regardless of whether the visitor submits the form.
Note
The values entered in the Password, Password confirmation, and Credit card fields are not tracked.
In the Confirmation dialog box, make sure the configuration of the form is correct and click Close.
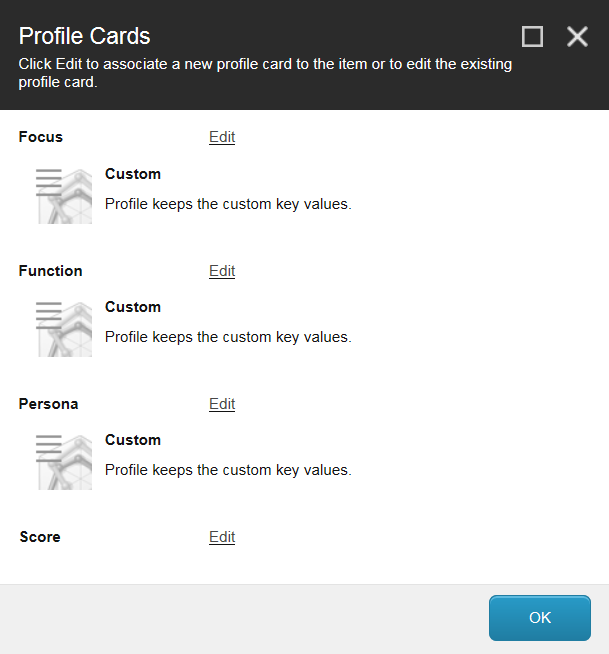
Profile cards can be used to identify and segment contacts as well as implement personalization rules. They contain saved profile keys and profile values, which track how visitors interact with the website. You can configure these profile values for goals that are associated with a web form.
To configure profile values for a goal associated with a form:
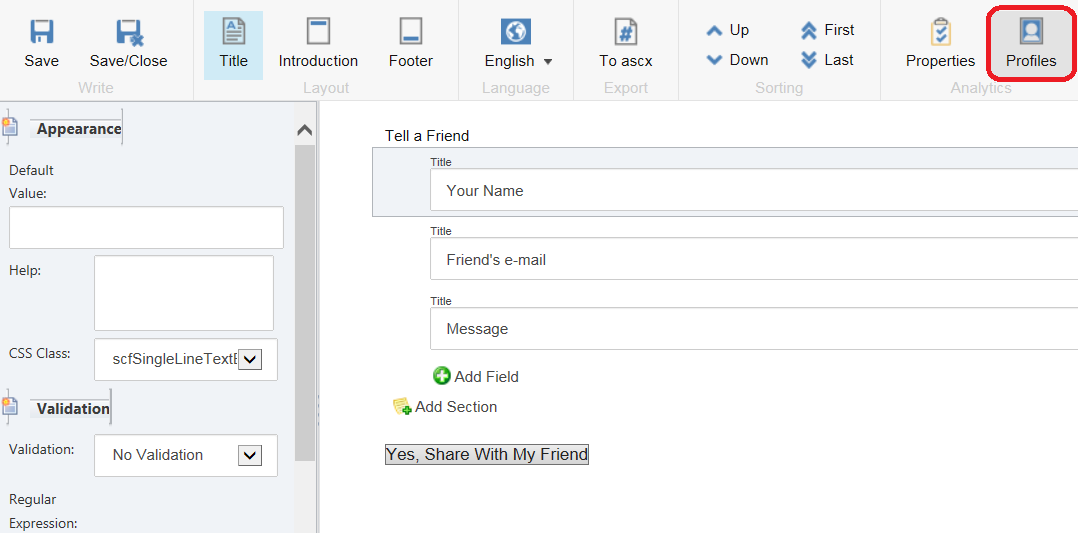
In the Form Designer, in the Analytics group, click Profiles.
In the Profile Cards dialog box, click Edit to associate a new profile card with the respective item.
In the Select Profile Card dialog box, set the content profile values. The default values range from 0 to 10. However, these values can be modified.
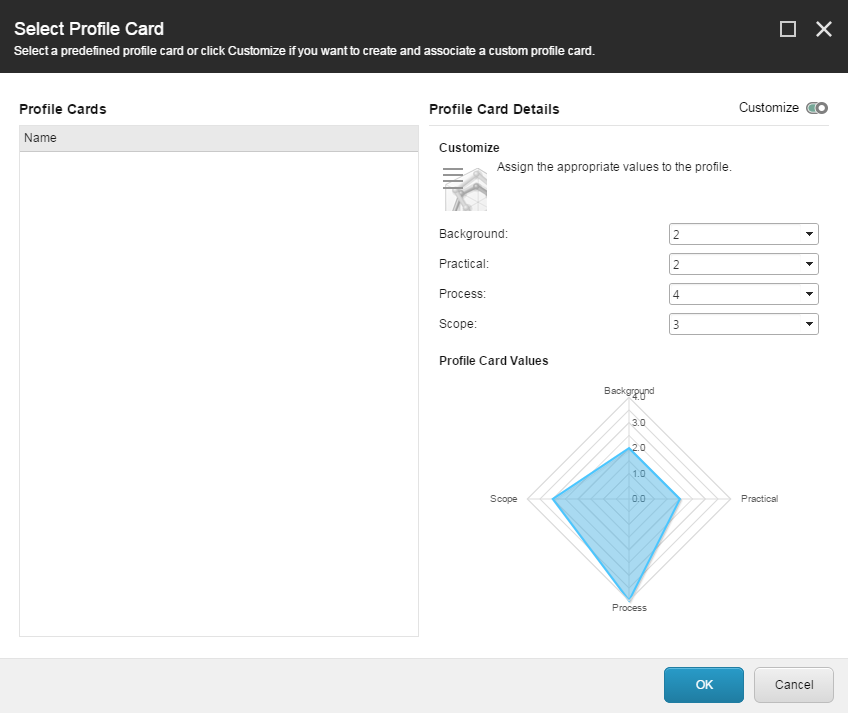
To save the changes, click OK.
You can associate a campaign with a web form, to make a visitor a member of a campaign when they successfully submit the form.
To trigger a campaign event upon form submission, you must add the appropriate Register Campaign action to the form’s Save Actions list.
To associate a campaign with the form:
In the Form Designer, click the Submit button and in the left pane click Save Actions.
In the Save Actions dialog box, in the Save Actions field, select the Register a Campaign action from the drop-down list and then click Add.
In the Added Save Actions field, select Register a Campaign and then click Edit.
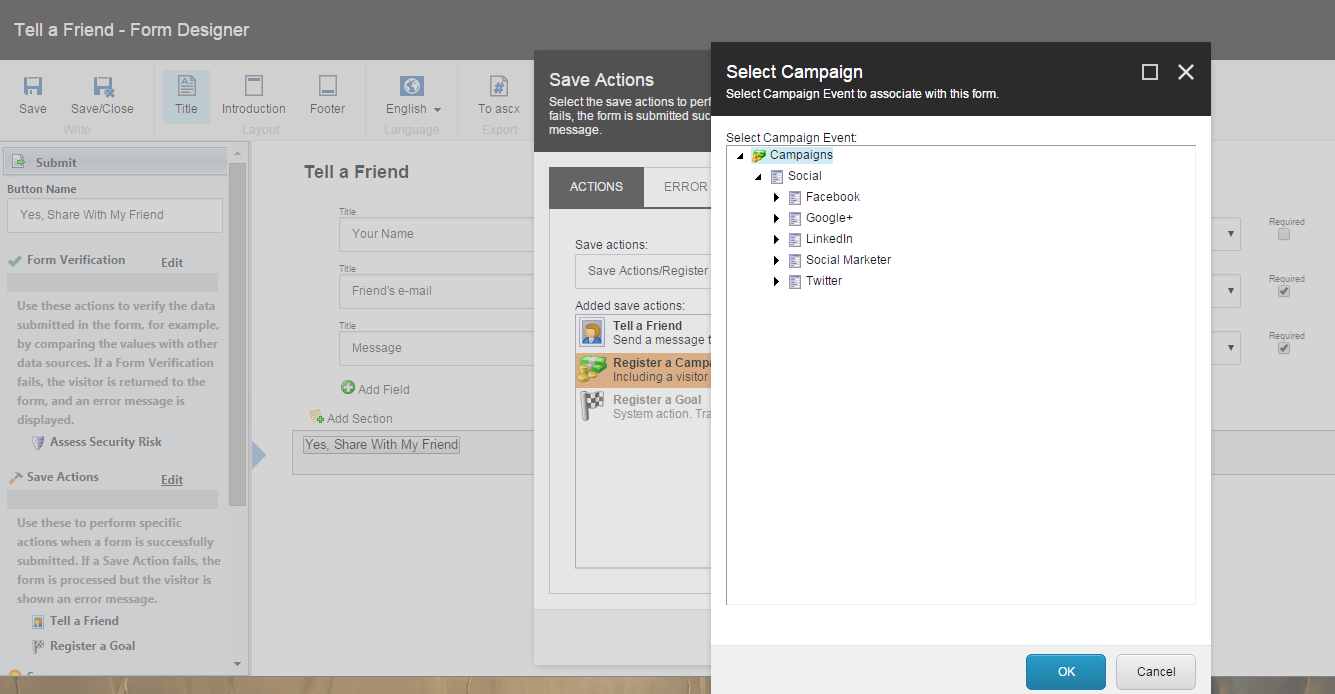
In the Select Campaign dialog box, in the Select Campaign Event field, select the campaign that you want to make the visitor a member of and click OK.
To save your changes, in the Save Actions dialog box, click OK.