Creating the Commerce Server site
You create the Commerce Server site by unPupping the PuP file.
Locate the Database\pup\SolutionStorefront.pup file containing the Commerce Server site, from the unpacked zip file from Github.
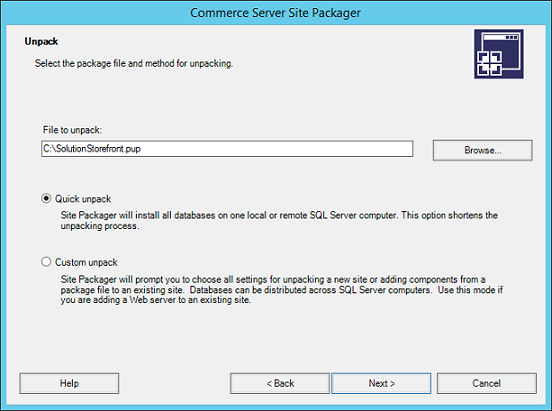
Double-click the PuP file to start the Commerce Server Site Packager application, and choose Custom unpack. For the first page of the wizard, select Quick Unpack, and then click Next.
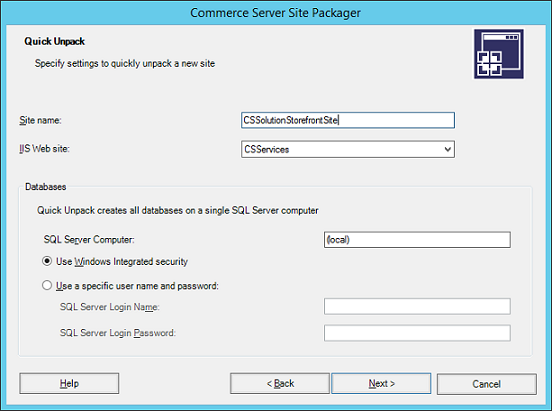
Set the Site name field to CSSolutionStorefrontSite, and set the IIS Web site field to the IIS web site you created to house the web services. For example, CSServices. Set the SQL Server Computer field to be the name of the server that contains the SQL Server instance, then click Next.
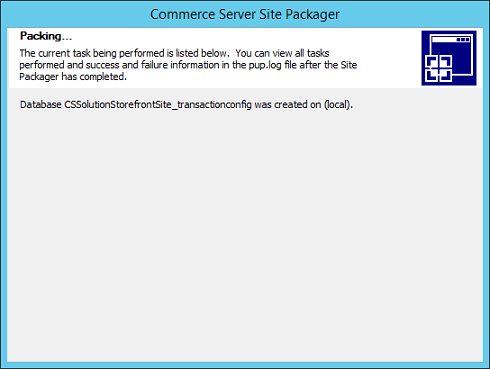
While the Site Packager is building the Commerce Server site, you will receive status updates.
If the PuP package contains a Profile resource, then you will be presented with screens that allow you to specify details for the Profile setup. The standard procedure is to accept the default details. If you are working with SCpbMD, then the Profile resource will not be required.
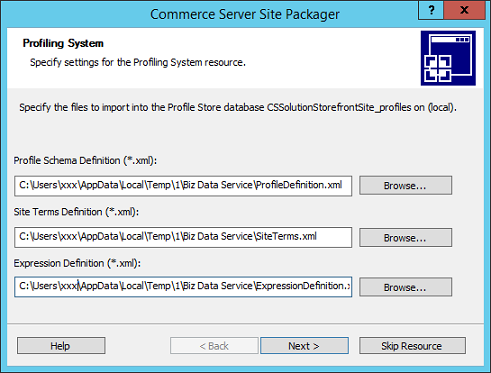
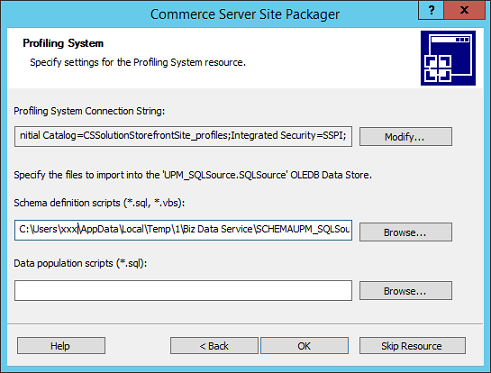
Once the wizard is complete, there should be a virtual directory under CSServices in IIS for each Commerce Server area. If you are working with SCpbMD, then you will only see the product catalog web service.
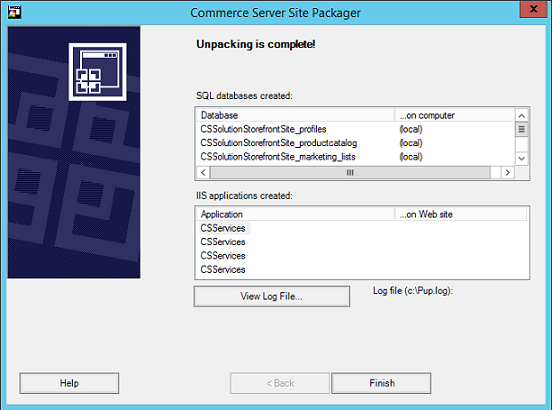
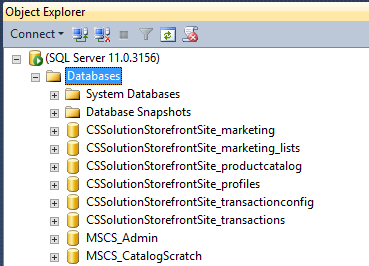
In SQL Manager, you should also have additional databases, including the MSCS_CatalogScratch database. If you are working with SCpbMD, then you will only see the product catalog database.
