Verify a connection to the collection database
Follow these steps to test your MongoDB connection.
When you install the Sitecore Experience Database for the first time, you do not have a pre-defined website. To test that you have a connection to MongoDB, you need to generate some local visits to your blank website. Any visits you make should appear as new interactions in the collection database.
To test your Sitecore CMS connection strings, first open your website in a web browser and check that you can log in to the Sitecore Desktop.
To verify that you have successfully made a connection to your MongoDB collection database you have to:
Open MongoDB and make a local visit to your website
Change the session end default timeout setting
Check MongoDB for interaction documents
Verify that fact and dimension tables contain data
To check that interactions appear correctly in the collection database:
Start your MongoDB database, open your MongoDB client, for example MongoVUE, and connect to the appropriate database.
In MongoVUE, you can see that before any contacts visit your website, only some collections are visible.
For example, in the following screenshot, the Analytics database appears but it does not contain any collections.
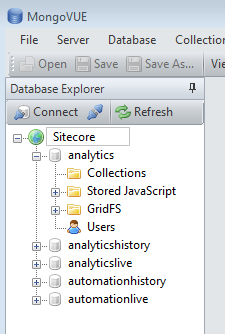
The Contacts and Interactions collections are missing until your website has visits.
Make a visit to your website test page and then refresh MongoDB.
Expand the analytics database and then expand the Collections node.
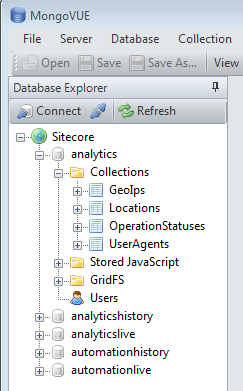
In the example, you can see four new collections relating to browser and system information but there are no interaction or contact collections.
After making a test visit, you need to wait 20 minutes before the session times out and MongoDB updates with the latest changes. For testing purposes, you may want to change this default timeout setting to make data appear more quickly.
To change the default timeout setting:
In the Website folder, open the
web.configfile.Navigate to the
<sessionStatenode.Change the session end default timeout setting from 20 to 1 minute.
<sessionState mode="InProc" cookieless="false" timeout="1">.
Note
It is important that you only change the default timeout setting for testing purposes. For optimum performance restore the default session end timeout setting as soon as possible.
After changing the default session end timeout setting, make a visit to your website and then refresh MongoDB. Interaction data should now appear in your MongoDB documents after one minute.
Refresh the MongoDB database again. After a short time, you should see the Contacts, Devices, and Interactions collections added to MongoDB.
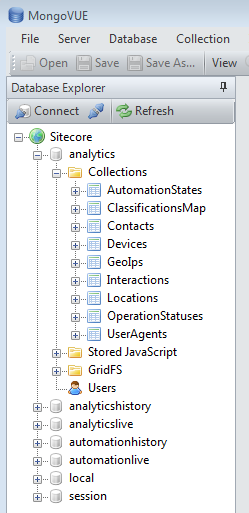
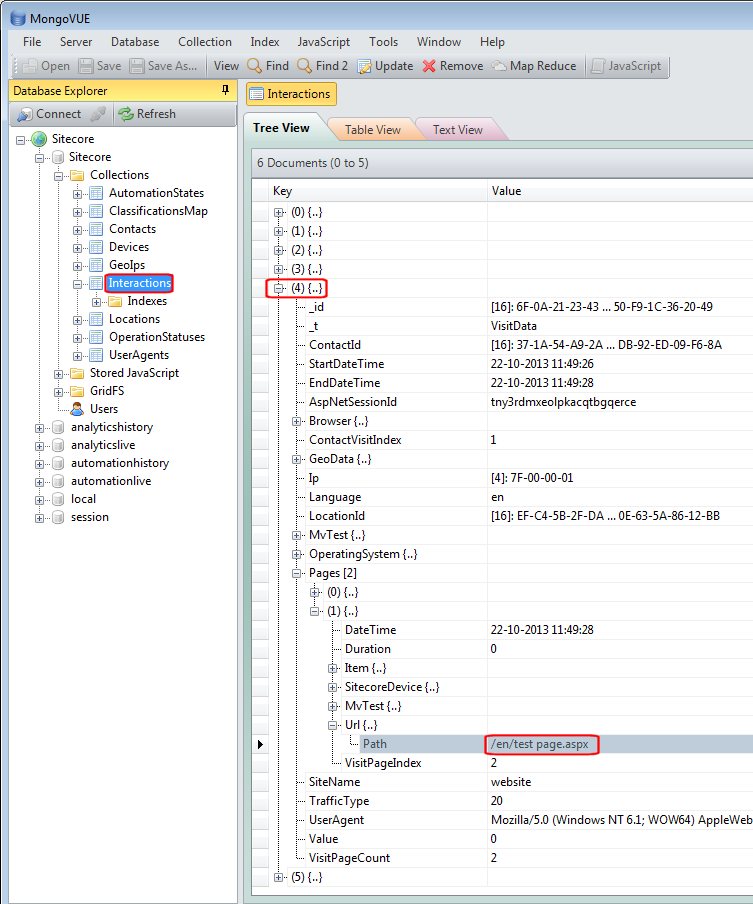
Right click Interactions and then click View to see all the interactions on your website.
In the following example, five interactions are stored in the collection. Expand one of these interactions to view data relating to the pages visited. The visit in the following screenshot consists of two page views.
Before you can verify that fact and dimension tables contain pre-aggregated data, ensure that you have data stored in the collection database and have configured your processing server correctly.
Query one of the SQL Server fact tables, such as
Fact_PageViews, and view all rows to check that it contains data. If the table contains analytics data, the processing layer is working correctly.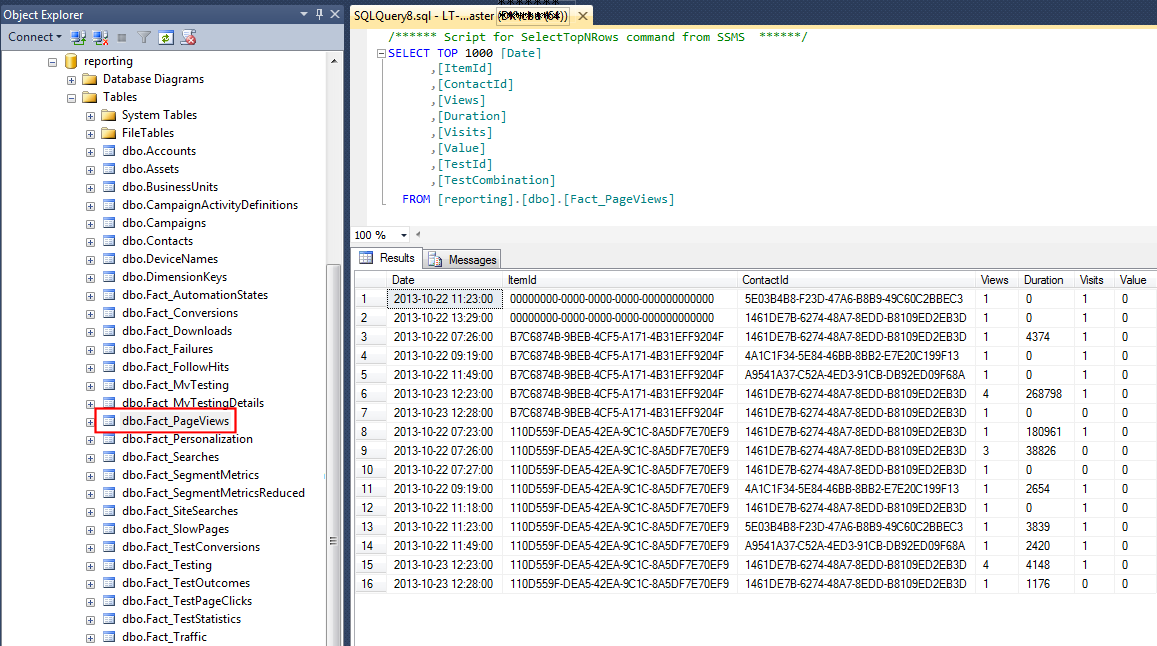
Note
If you do not see any data in the Fact_ tables, check the ConnectionStrings.config on the processing server to see if the analytics connection string to MongoDB is configured correctly and that you have data in the collection database.