Extend search
Extend the search solution by adding sites, facets, and scope.
SXA comes with a flexible search solution. To help users locate exactly the item they are looking for, you can add advanced search functionality, such as search scopes and facets. For example, you can define one search page to search the general content of your site, another one that searches the product database, and another one to search the blogs archive.
This topic describes how to:
By default, search results are narrowed to the site. You can extend the scope of the search and include other sites. For example, if you have one global site and multiple sites for different countries, you can extend the search to include all the sites, when you are on the global site.
To extend search to include other sites:
Go to
/sitecore/content/TENANT_GROUP/TENANT/SITE/Settingsand in the Search Criteria section, in the Associated Content field, click the sites that you want to include in the search. If you leave this field empty, only the current site will be searched.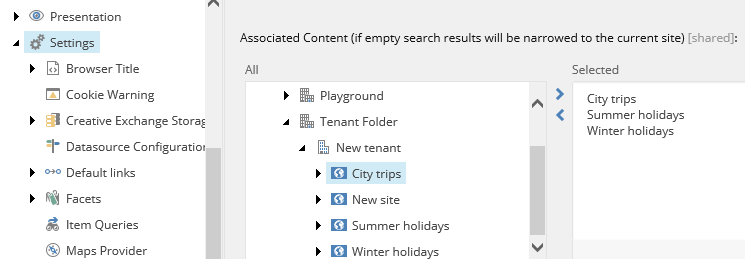
The content on your pages is automatically made available for searching. On extensive websites, you can make it easier to navigate through the search results, filter, and apply ordering, so visitors can find exactly what they need, with minimum effort. SXA includes various search renderings to handle the search criteria input and to present results in a flexible and customizable manner.
You can also create a scope for your visitors. For example, if you have a travel website and you expect visitors to want to search for weekend trips, one week trips, two week trips, or long stays, you can create scopes that appear as filters on your site.
To add search scopes:
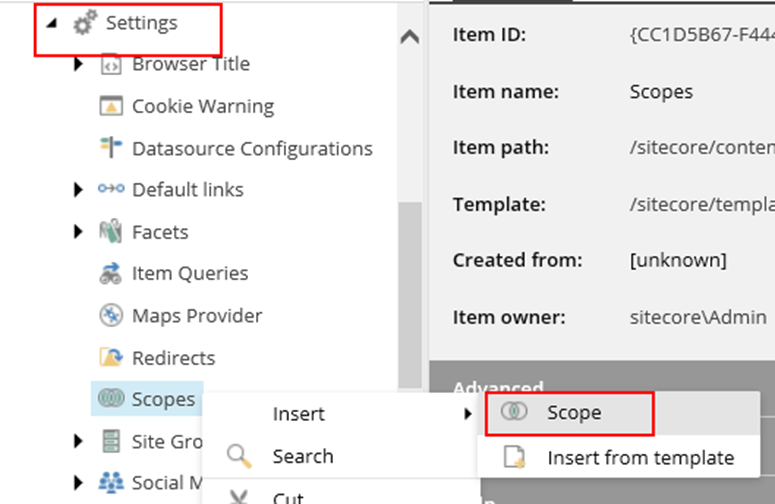
Navigate to the Settings of your site and right-click Scopes. Click Insert, Scope.
Enter a name and click
To define a scope query:
If you have a query ready, click Paste query.
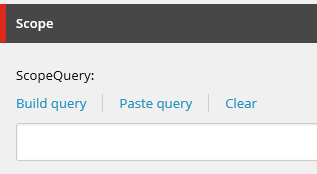
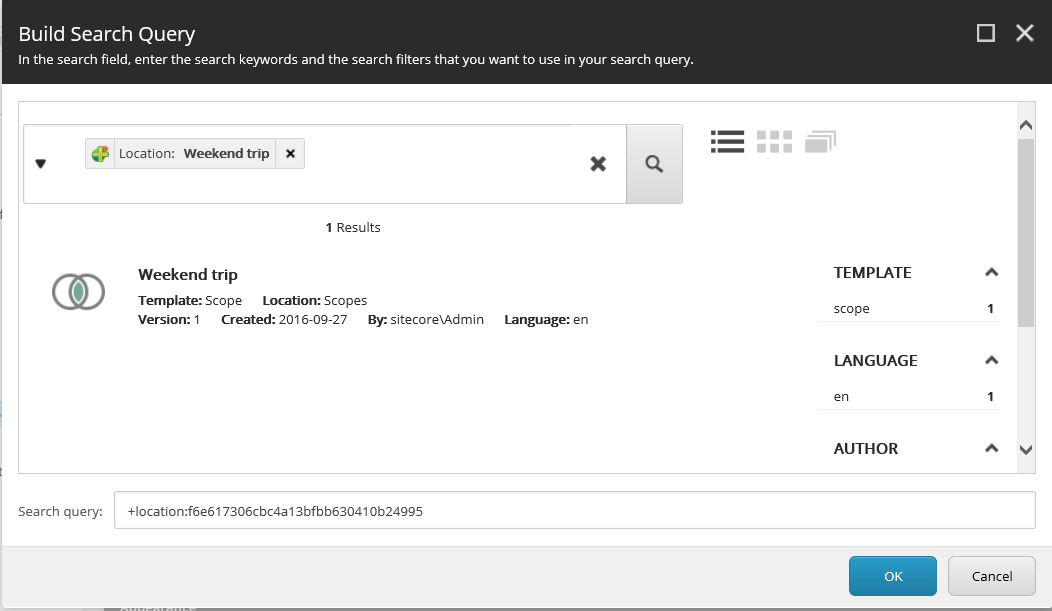
To build the query, click Build query and in the Build Search Query dialog box, in the search field, enter the search keywords and the search filters that you want to use.
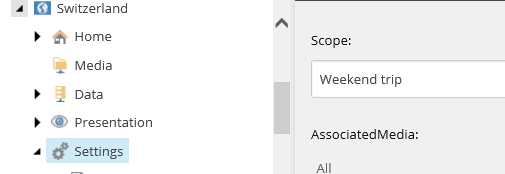
Navigate to the Settings of your site, and in the Search Criteria section, in the Scope field select the scope.
All search renderings have configuration items. These items are used to store the rendering texts but sometimes they also contain more configurations, for example, facets. A facet is a way of refining search results by categorizing the items returned by the search, for example, by author, language, or created date.
Facets are special items used by facet filters. They are used to inform search engines of the field that you want to filter results on. For example, if your site lists different kinds of cars, you can have a search based on type, color, and price.
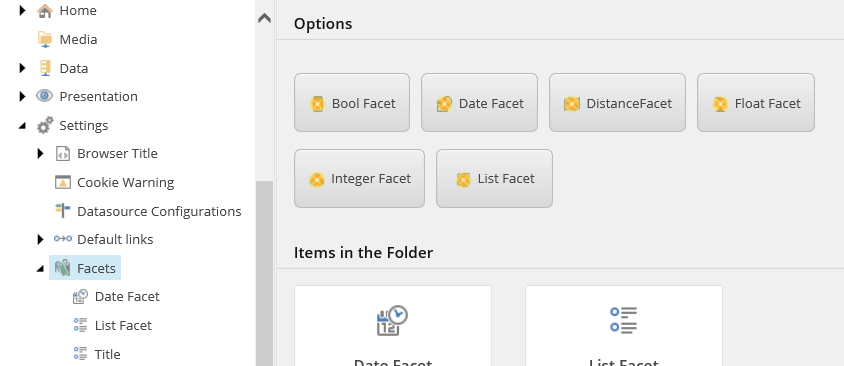
You can add facets to your site settings. Facets are stored in site/Settings/Facets:
 |
By default, SXA uses the facets defined by the platform in the /sitecore/system/Settings/Buckets/Facets item.
To create a new search facet and add it to your site:
Navigate to site/Settings/Facets and click the facet that you want to add. For example, if you want the visitors of your site to be able to narrow their search by selecting dates, click Date Facet and fill in the following fields:
Name and DisplayName: Enter a name.
FacetFilter: This field enables you to limit the facet values that the search uses. You can enter a reference to a class that implements the
ISimpleFacetinterface. You must create this class yourself, and it has to return a string. You can implement logic in this class that determines the filters that the facet should search for. The intention is that this class reduces the number of filters. This is how some of the Sitecore search facets are implemented, for example, Date Range or File Size.FieldName: Specify the fields that you want users to be able to search on in a comma-separated list.
Enabled: By default, this checkbox is selected. It must be selected for the facet to work.
Minimumnumberofitems: The minimum number of items that the facet must appear in before it is shown in the search results.
GlobalFacet: Set to true if you want the site facet available for back-end search on every site item.
Navigate to site/Data/Search and create a new facet filter. For example, click Date Filter Folder, enter a name – for example, MyOwnFilter – and click OK.
In the Facet field, select the facet you created earlier.
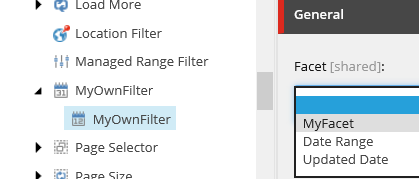
To see how the new facet filter works on your site, open a page in the Experience Editor and add the Search Box and the Search Results rendering to the page. After adding the Search Results rendering, in the Select the Associated Content dialog box, select the filter that you created and click OK.
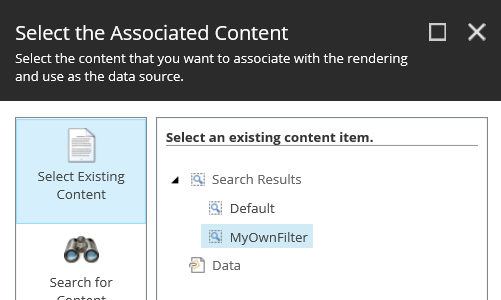
Save the page. When you now view your page in Preview mode, you can see that you are able to filter the search results.
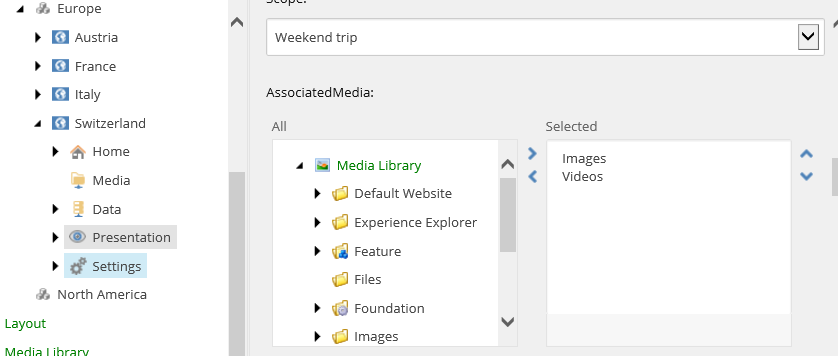
You can extend your search to include Media Library folders. This may be convenient when you expect your visitors to look for images or videos. For example, if you have a website that contains instruction videos, it may be convenient for visitors to be able to search on videos specifically.
To extend search to include Media Library items:
Navigate to the Settings of your site and in the Search Criteria section, in the AssociatedMedia field, add the media items you want your visitors to be able to search on.
