Create an Explore mode preset
You must create your own presets before you can view your website in Explore mode.
The first time you open a website in Explore mode there is a single preset called Anonymous. Creating presets is normally part of your overall Experience Marketing profiling strategy. Before you start to analyze your website in Explore mode, you must create your own set of presets.
For more information on creating presets or developing a content profiling strategy, see the SBOS information on SPN.
To create your own set of presets:
In the Content Editor, in the content tree, navigate to the /sitecore/system/Marketing Control Panel/Experience Explorer/Presets node.
You should only see one default preset called Anonymous.
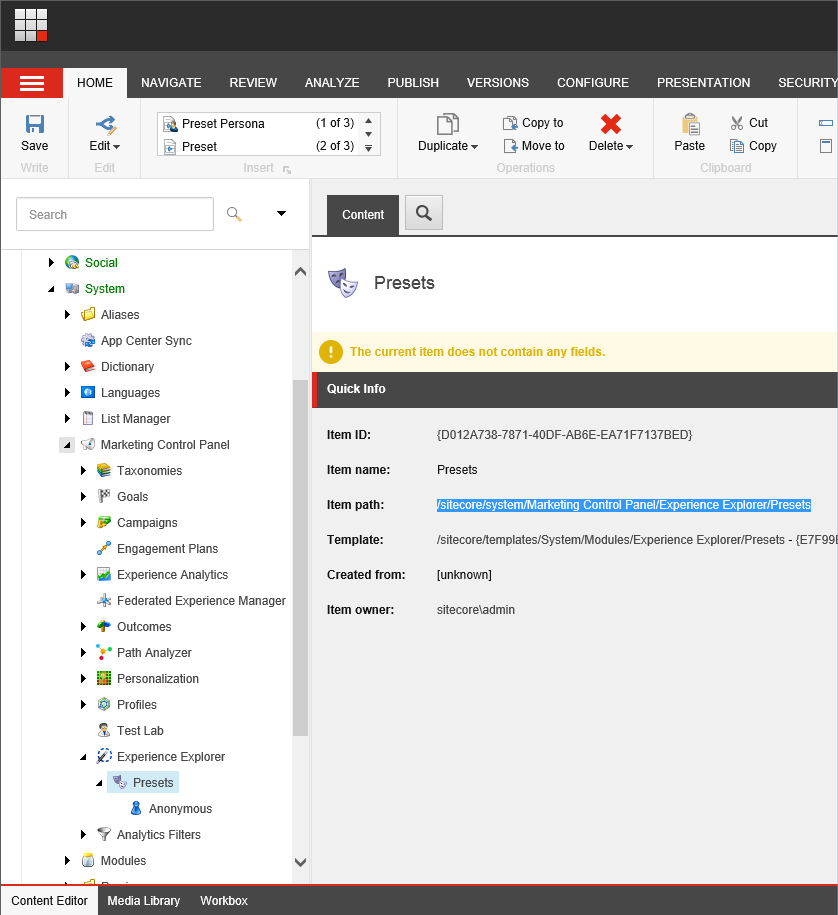
In the ribbon, click Home, Insert, and then click Preset Persona and give the preset a name - Cecile.
You can create two types of item:
Preset – Persona
Preset
The Preset - Persona item contains more fields that you can use to describe your preset than the Preset item.
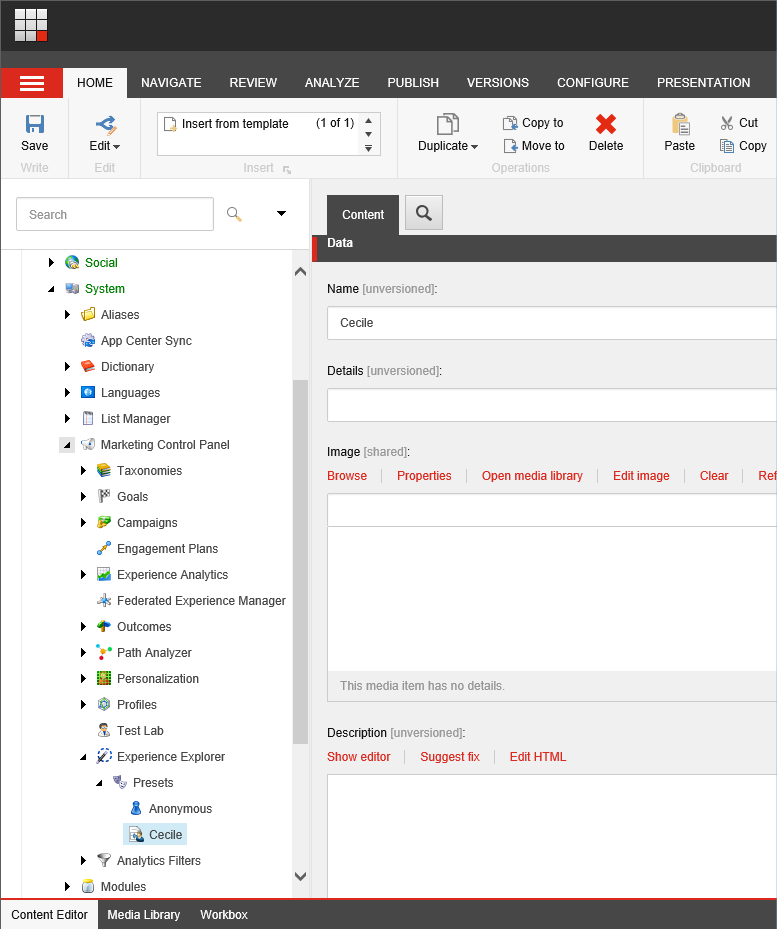
Enter a name and any other relevant details.
You should enter enough information to create an accurate portrayal of your preset. The most important fields to include are:
Field name
Description
Name
Name of the preset. For example, ‘Cecile’.
Details
Type of business visitor. For example, ‘Executive’
Image
Attach a suitable image to represent your preset.
Description
Provide a detailed description of the type of business visitor this preset represents. For example, ‘Cecile is a company CEO looking for first class travel and a high standard of business accommodation’.
You can leave the other fields empty for now.
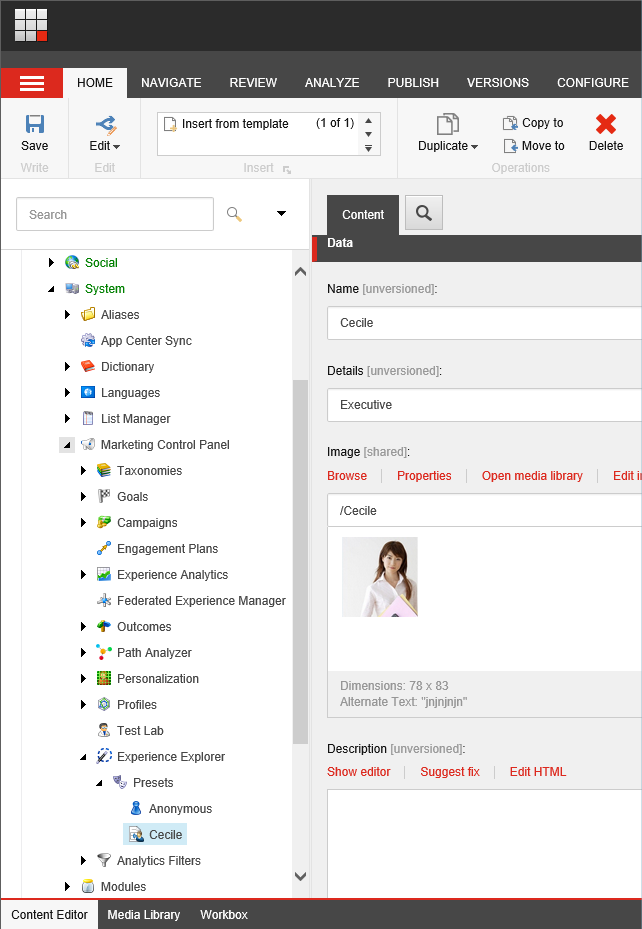
Create the other presets that you have prepared as part of your profiling strategy.
Save your changes.
After you create a preset, you can associate it with some specific Experience Marketing functionality.
To configure a preset:
In the Content Editor, navigate to the /sitecore/system/Marketing Control Panel/Experience Explorer/Presets node and select the preset that you want to configure.
In the Advanced group, you can see the profiles, goals, and campaigns associated with this preset.
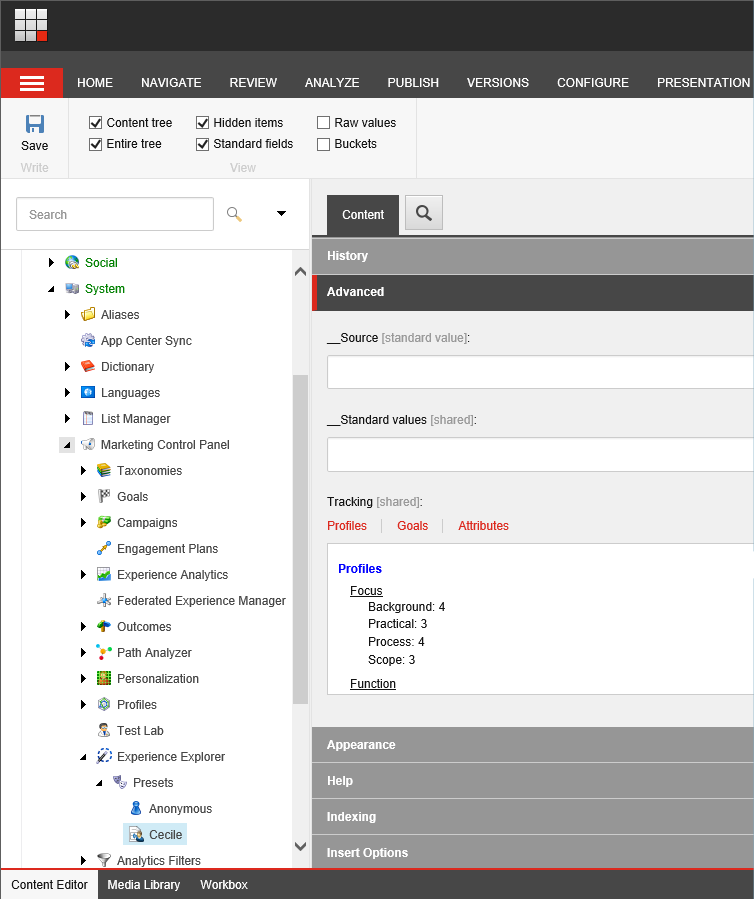
Click on Profiles, Goals, or Attributes to edit any of these values.
For example, click Profiles to view or edit the profile card values assigned to the Cecile preset.
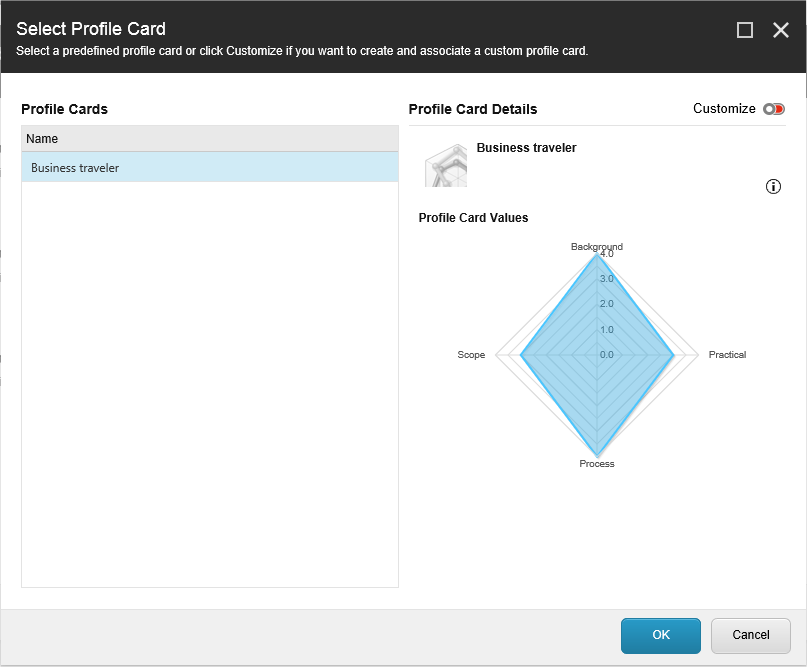
Click Customize to change these values.
Click OK to save your changes.
Seeing the presets in Explore mode
To see the presets in Explore mode:
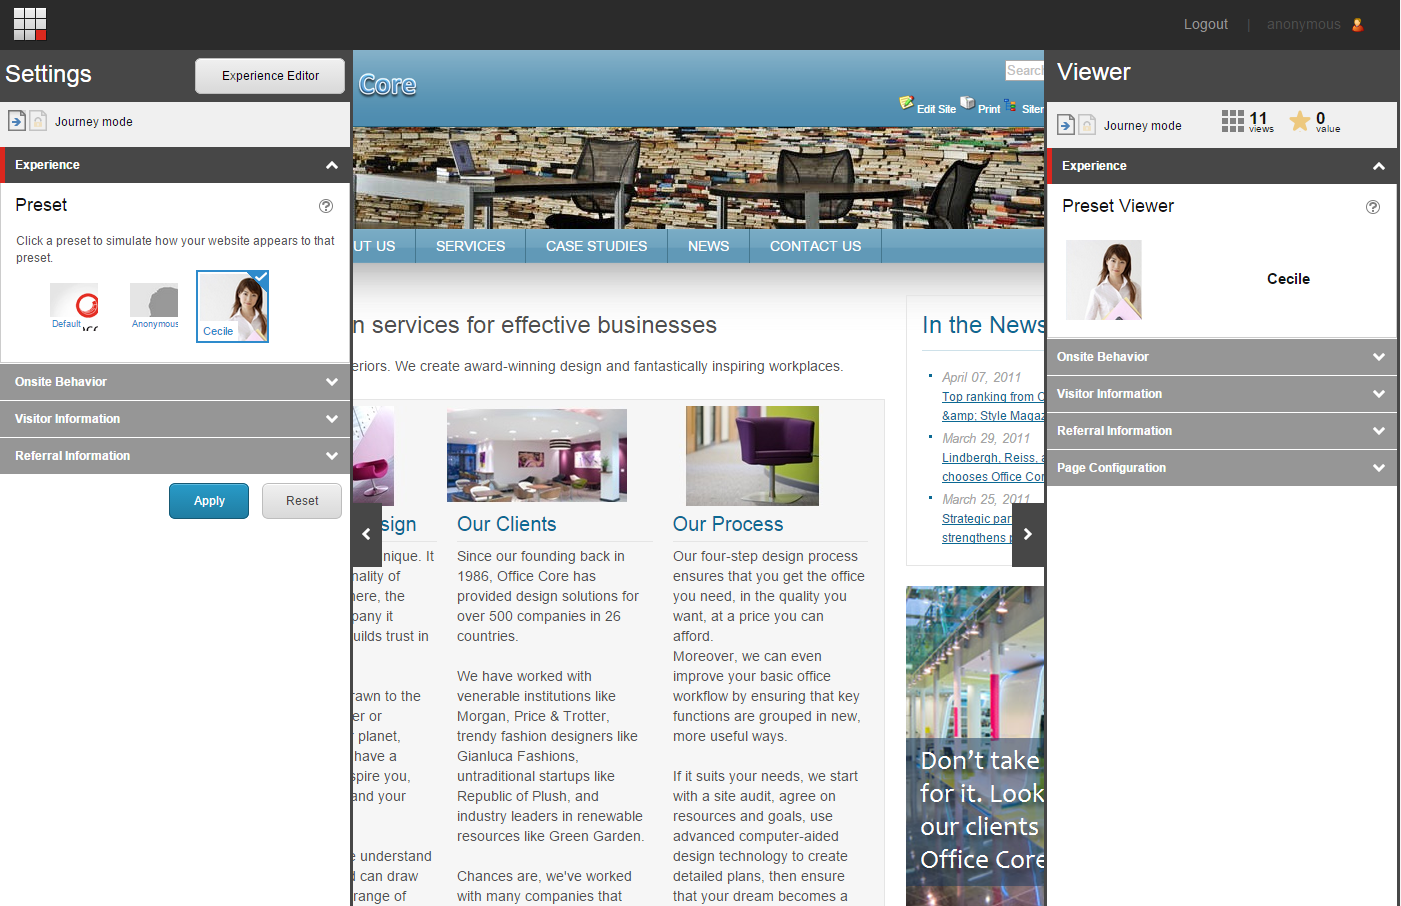
Open the website in Explore mode and in the Settings panel, click the Experience section to see your new preset displayed in the Preset carousel.
Select a preset and then click Apply.
 |