Add, edit, and reuse a snippet
Create reusable groups of renderings.
The Snippet rendering lets you create a reusable group of renderings. It is a composite rendering that consists of several renderings that can be designed separately in the Experience Editor.
In the same way as with partial designs, you can group different kinds of renderings and reuse this group in different locations. The difference between a snippet and a partial design is that snippets are extensible, you can change the styling, and you can use them as often on the page as you want. This topic describes how to:
The Snippet rendering lets you create a reusable group of renderings. It is a composite rendering that consists of several renderings that can be designed separately in the Experience Editor.
In the same way as with partial designs, you can group different kinds of renderings and reuse this group in different locations. The difference between a snippet and a partial design is that snippets are extensible, you can change the styling, and you can use them as often on the page as you want.
For example, you can use the snippet rendering that contains rich text and 3 promos because you want to be able to reuse the structure and the promo text. You could have any number of those snippets on the page and are able to change those promos regularly.
To add a snippet:
Open the Toolbox and, in the Composites section, click the Snippet rendering and drag it to the page. When you click and start dragging a rendering, the placeholders where you can drop the rendering light up.
Position the Snippet rendering above the desired placeholder, and when the placeholder lights up, drop the rendering on the page.
In the Select the Associated Content dialog box, click Data and then, to create a snippet data source item, click Create.
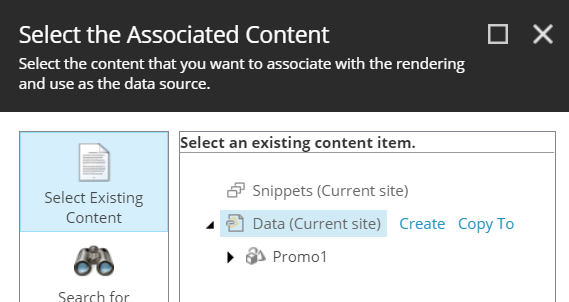

Now you can start adding renderings to the empty placeholders.
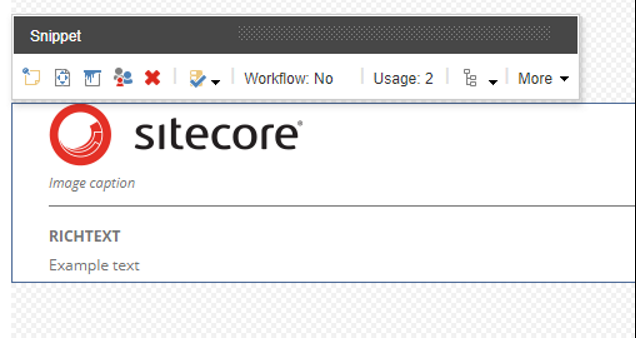
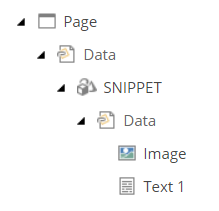
Save the snippet. In the Content Editor, the snippet will look like this:
When you now click another placeholder on the page or on any other page, you can select the snippet that you just created.
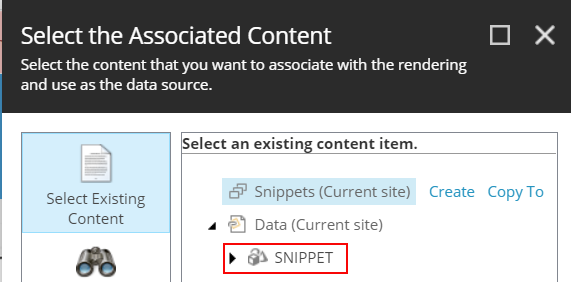
When you have created the snippet, you can reuse it on as many pages as you want. For example, you can reuse a snippet that contains rich text and three promos because you want to be able to reuse the structure and the promo text. You can have any number of those snippets on the page and are able to change the promos regularly.
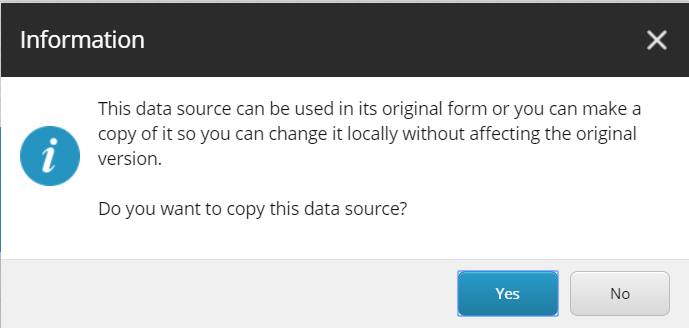
Depending on the data source and other configuration settings of the snippet, the snippet content is either copied to the page as local data or saved in the global snippets folder. For some snippets, you can decide whether you want to change the snippet locally. For those snippets, you see the following message:
 |