Creating an engagement plan
Use engagement plans to nurture relationships with your contacts by adapting how you communicate with them.
An engagement plan is a predefined plan that lets you control how your website interacts with some contacts. You use engagement plans to nurture relationships with your contacts by adapting communication to use the content, channels, and media that are appropriate for each individual interaction.
Before you create an engagement plan, you should have a scenario prepared. You should also have prepared all relevant pages, graphical elements, e-mail messages and so on.
For example, you can create an engagement plan that evaluates contacts to a website who have requested a brochure to determine whether they have also subscribed to a newsletter. If they have not subscribed to the newsletter, you can set up the engagement plan to send them a message that encourages them to sign up for the newsletter.
An engagement plan consists of:
States – the status of a website contact, such as whether or not they have visited certain pages, achieved specific goals, performed specific actions, where they have come from, and so on.
Conditions – logic-based statements that you set which determine whether contacts in a specific state fulfill certain criteria. Conditions can relate to the contact in general or this particular visit.
Rules – criteria that you define which determine whether a contact fulfills a condition.
Triggers – events that determine when Sitecore should evaluate the conditions and rules associated with a state. There are two types of triggers: contact and timeout triggers.
Actions – you set actions that should be taken when contacts meet or fail to meet the rules specified in a condition.
The first thing you must do is create the engagement plan item.
To create an engagement plan:
In the Sitecore Desktop, click Sitecore, Marketing Control Panel.
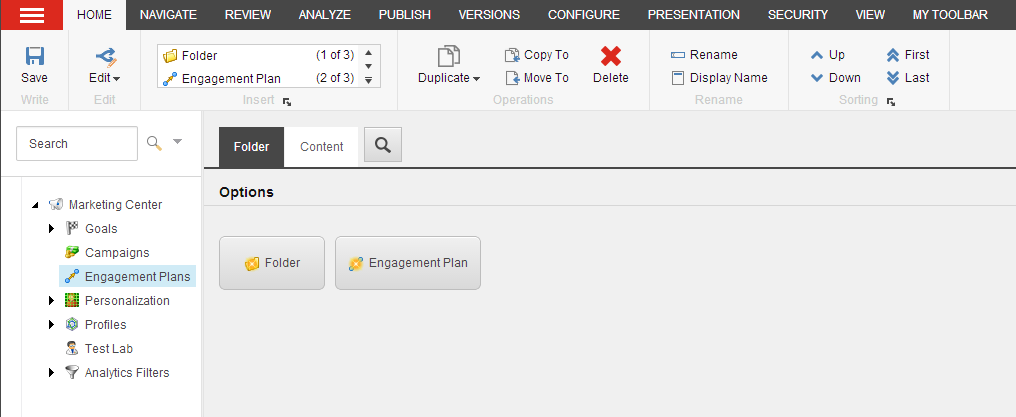
In the content tree, click Engagement Plans and in the right-hand pane, on the Folder tab, click Engagement Plan.
In the dialog box that appears, enter a name for your engagement plan, for example, Pushing Newsletter. The engagement plan appears in the right-hand pane.
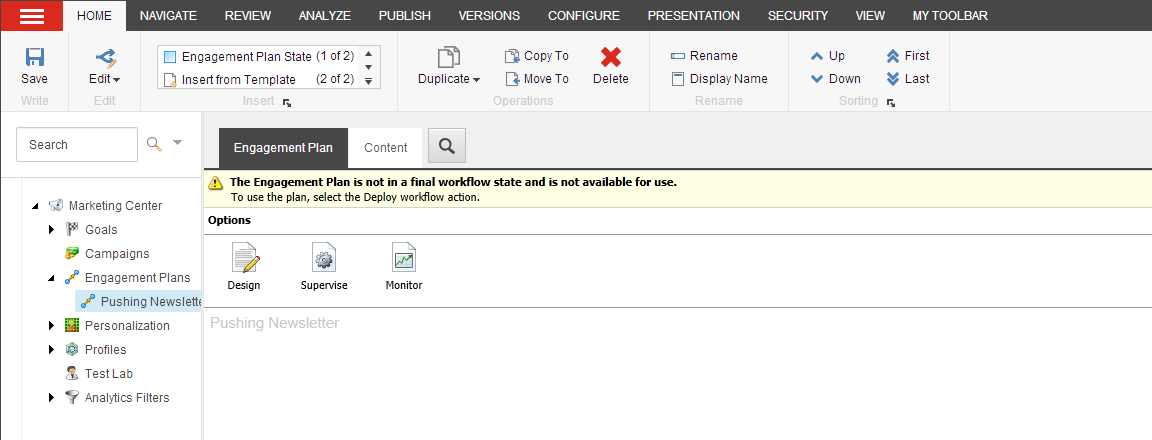
After you have created the engagement plan, you need to create the first state in the engagement plan.
To create a state:
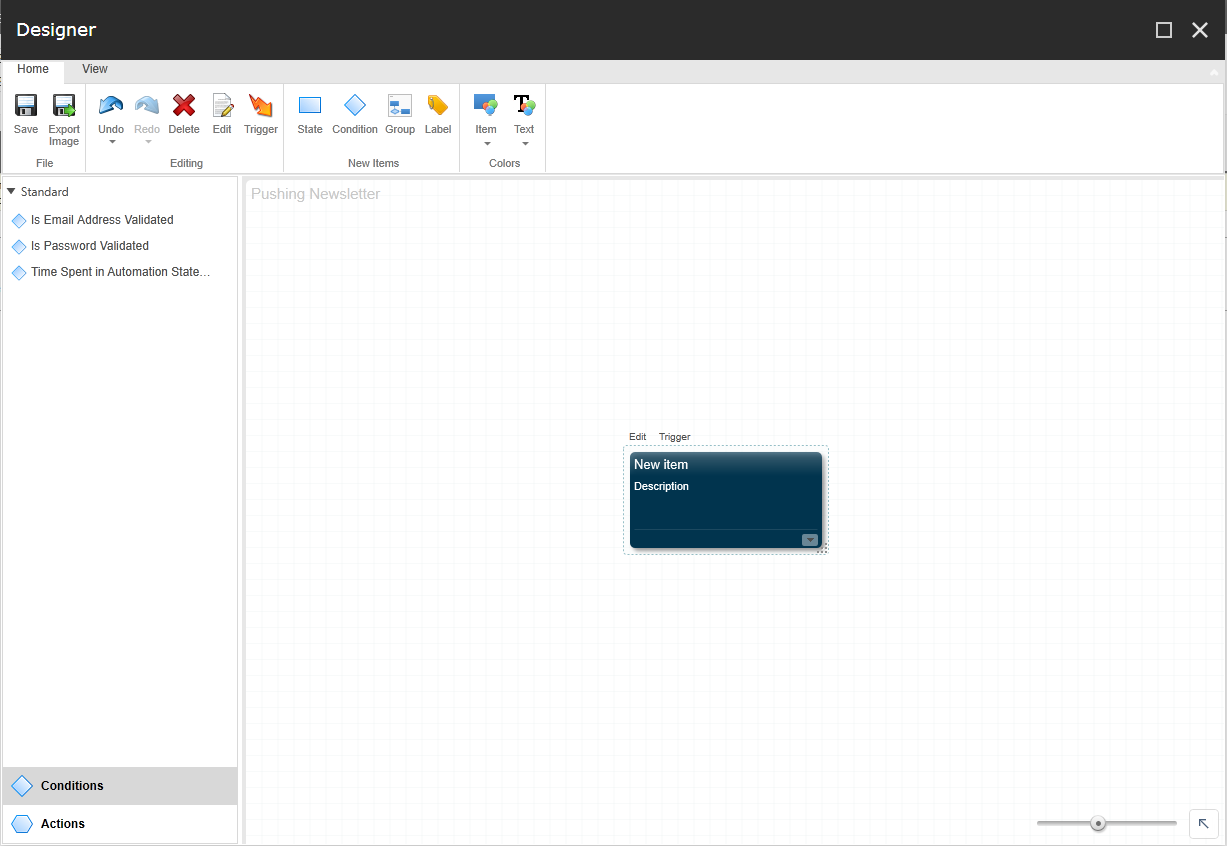
On the Engagement Plan tab, in the Options section, click Design.
In the Designer, in the New Items group, click State, and a state appears in the design pane of the engagement plan.
Note
Contacts who are enrolled in an engagement plan do not have to be placed in the first state. You can place contacts in any engagement plan state.
Select the new state and click Edit.
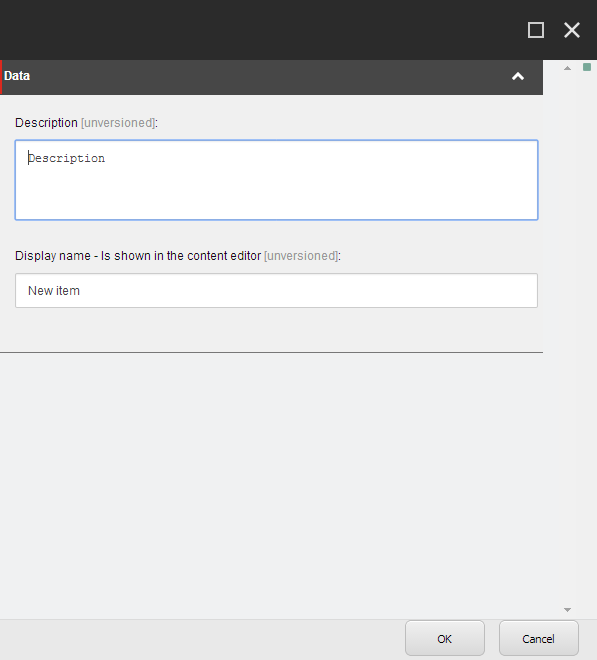
In the dialog box, enter a description for the state.
For example:
Field
Value
Display name
Brochure Requested
Description
All the contacts who requested a brochure.
Click Save.
After you have created the initial state, you can define the first condition that evaluates the contacts who are in this state.
To define a condition:
In the Designer, in the design pane, select the state. Shapes appear around the state.
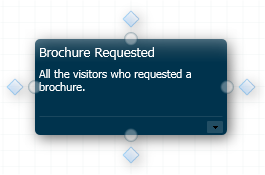
Click one of the diamond shapes and a condition appears in the design pane.
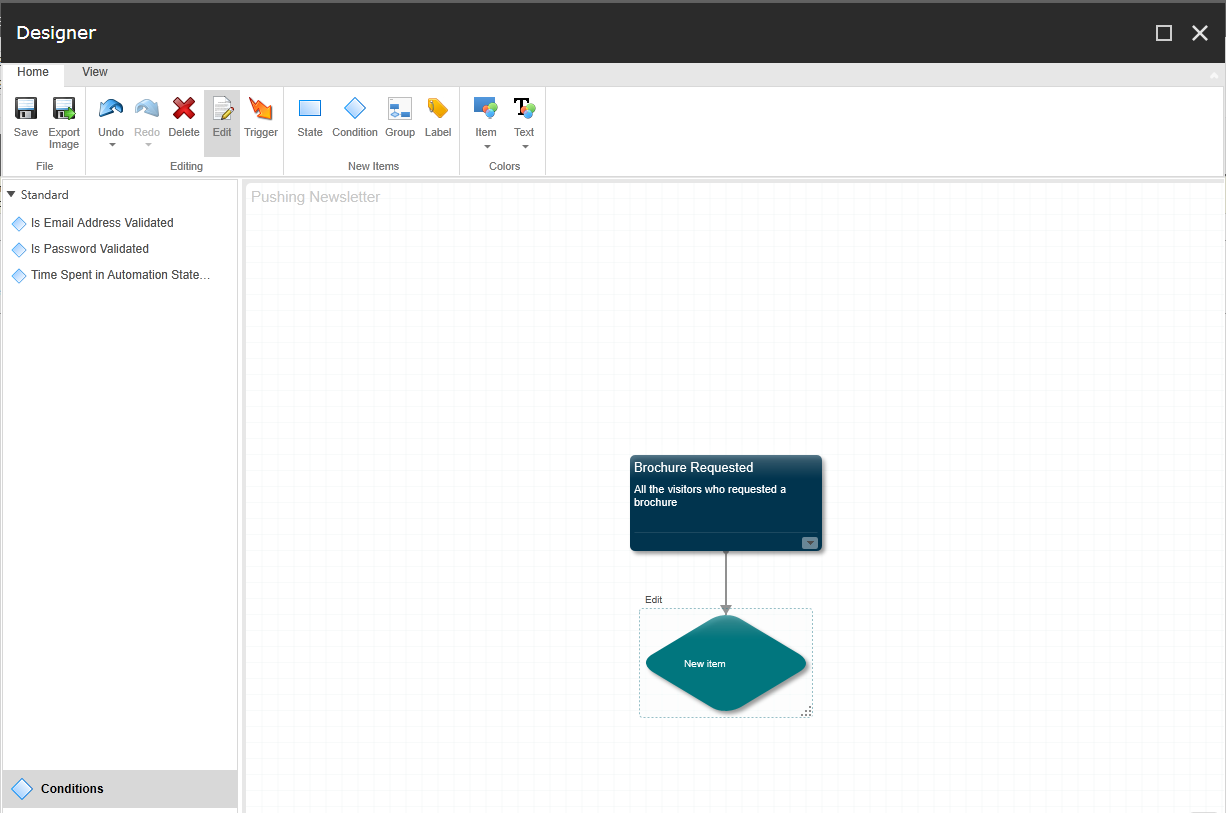
This condition describe that the contacts in the initial state have requested a brochure but have not subscribed to the newsletter during this visit.
Select the condition and click Edit.
In the dialog box, enter an appropriate name and description for your condition.
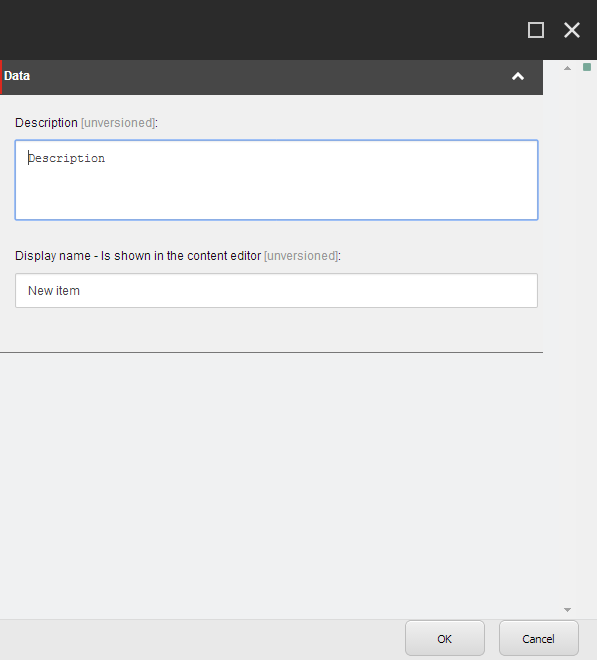
For example:
Field
Value
Display name
Contact – plus brochure, minus newsletter.
Description
Has the contact requested a brochure but not subscribed to the Office Core newsletter?
In the Evaluate drop-down field, select a value that determines when Sitecore evaluates your condition.
The options are:
Option
Meaning
Always Evaluate
Sitecore always evaluates all triggers (timeout and events) for the condition.
Only Evaluate on Timeout
Sitecore evaluates the condition when one of the timeout triggers has been met:
The contact has been in this state for the timeout interval that you have specified.
The timeout interval that you have specified has elapsed since the last time that the condition was evaluated.
If you select this option, Sitecore ignores the condition until the associated timeout occurs.
Only Evaluate for Subscribed Events
Sitecore evaluates the condition for a contact to the website who achieves one of the goals or activates one of the page events that are associated with this condition.
If you select this option, Sitecore ignores the condition until the associated event occurs.
For this example, select Always Evaluate.
Once you have defined a condition, you can define the rule or set of rules that you want triggered when the condition is met.
To define a rule:
In the Rule field, click Edit Rule to open the Rule Set Editor dialog box.
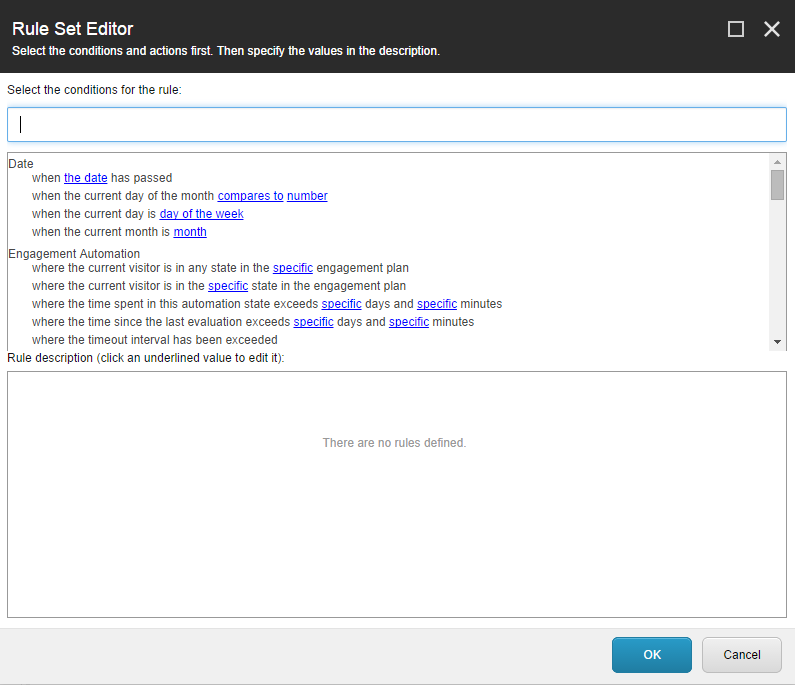
This dialog box lists all of the conditions that you can use to create a rule or a set of rules.
Select the condition for the rule that you want to implement by entering search text in the Filter field, or by scrolling through the available conditions.
For example, in the Select the condition for the rule field, in the Filter field, if you enter goal, only the rules that contain the word goal are displayed.
Note
If you want to reverse the conditions in a rule, in the Rule description field, click where. This automatically changes where to except where.
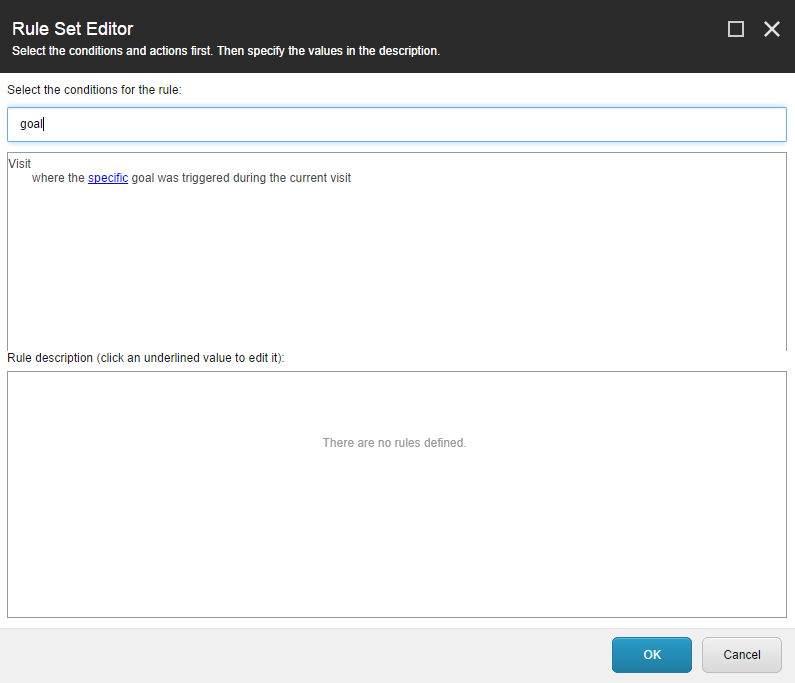
In the Rule description field, in the Rule 1 section, click specific.
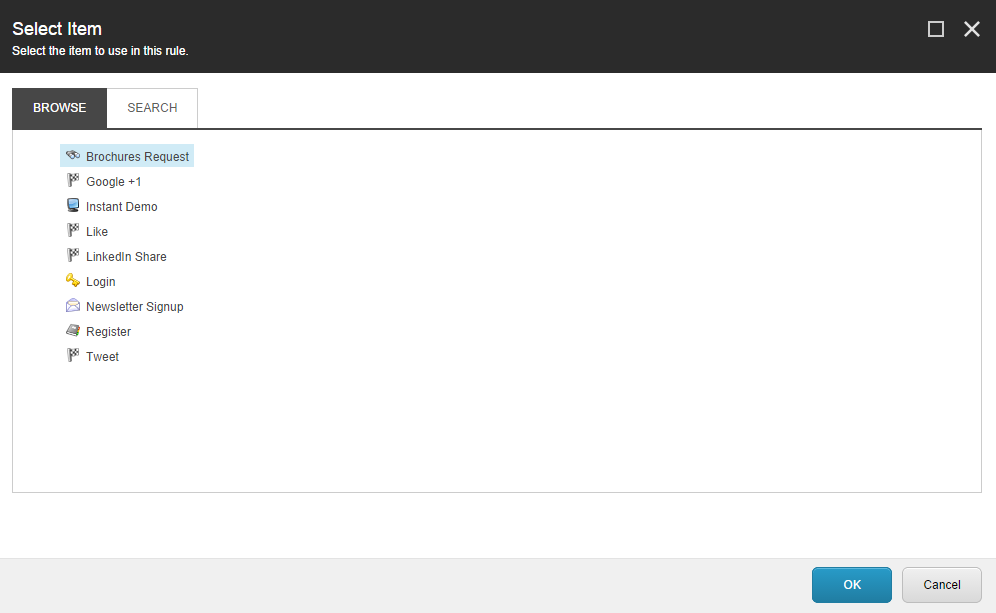
In the Select Item dialog box, select the item that you want to associate with this rule, for example, Brochure Request.
To add additional conditions to your rule regarding other goals that contacts have achieved or events they have triggered, select an additional condition for the rule.
For example, to add an additional condition to the existing rule, in the Rule Set Editor dialog box, in the Select the condition for the rule field, select the where the current visit has triggered the specific goal condition again. Click on where to reverse the condition to except where.
If you have added an additional condition to your rule, you need to associate another item or value to the rule. Click specific and in the Select Item dialog box.
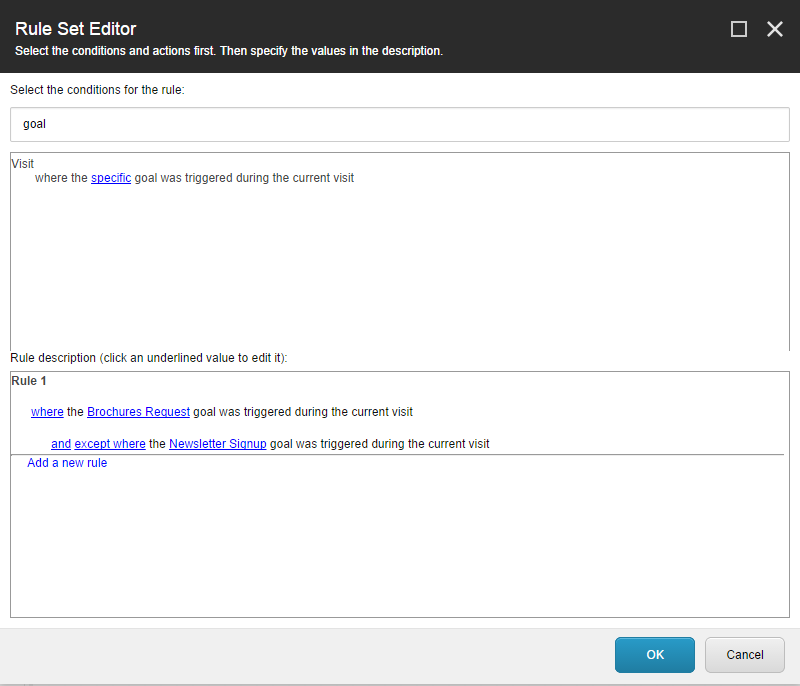
For example, if you select except where the Newsletter Signup goal was triggered as the value for the rule, a contact must have fulfilled the brochure request goal during the current session but not signed up for the newsletter during this session.
After you have defined the state, condition, and rules for the first state of your engagement plan, you can define a trigger to move a contact from the first to the second state.
To define a contact trigger for a state:
In the Designer, select the first state in the plan and then click Trigger.
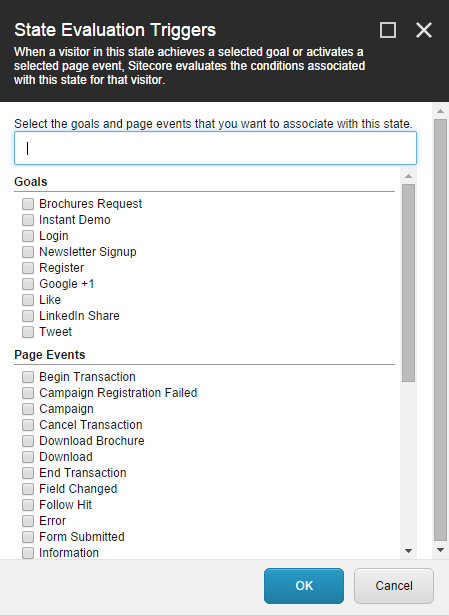
In the State Evaluation Triggers dialog box, select the goals and page events that you want to trigger the evaluation of this state.
When a contact achieves one of the goals that you select, or when they activate one of the page events that you select, the engagement plan evaluates the conditions associated with this state for that particular user.
When a contact meets the conditions specified for the first state, they should be moved to the next state in your engagement plan.
To create the next state:
In the Designer, click the condition.
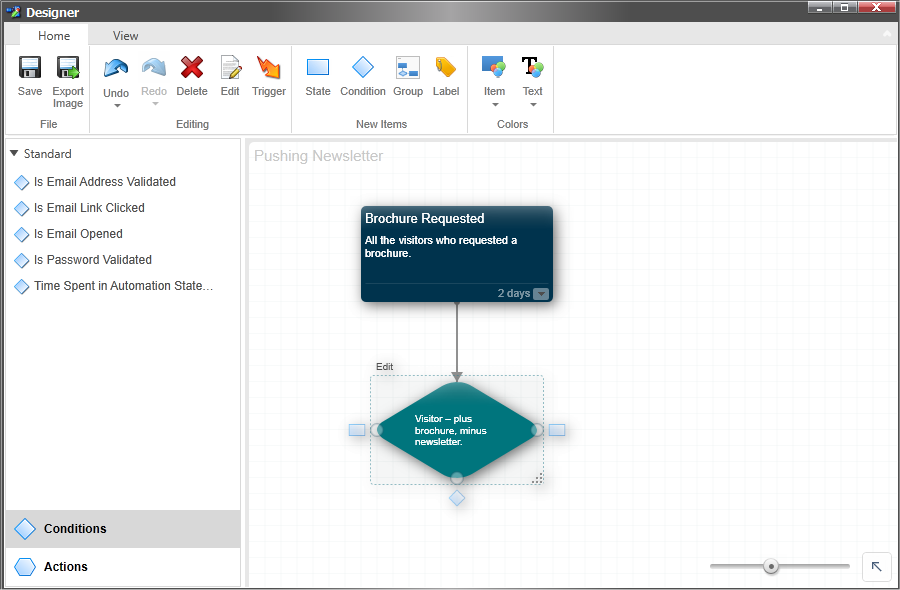
Click one of the rectangle shapes and a new state is added to the engagement plan.
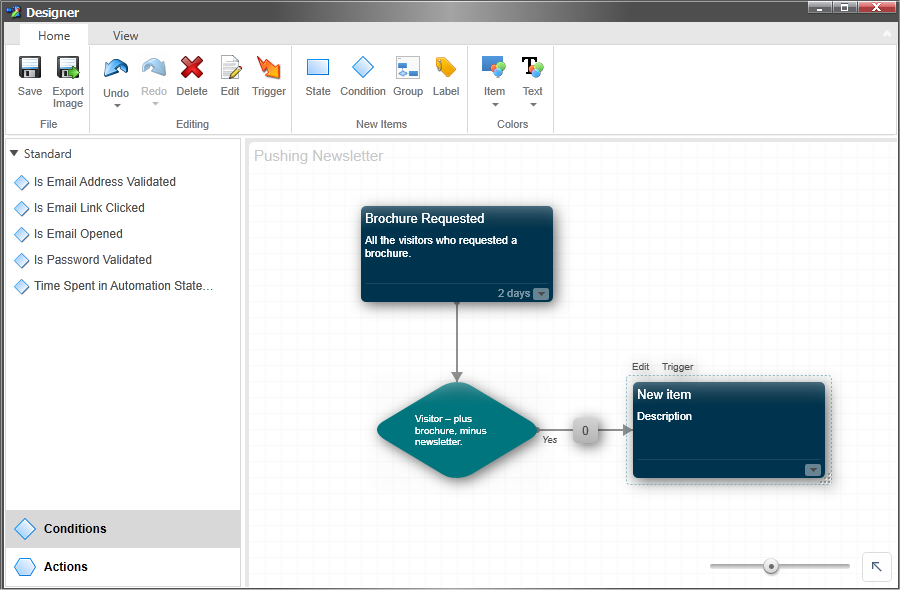
In the Designer, you can see that there is a Yes beside the arrow linking the condition to the new state. This indicates that the contacts in the new state satisfy the rules that you defined in the condition.
Select the new state, click Edit and enter the relevant values in the dialog box
For example:
Field
Value
Display name
Push newsletter mail recipients
Description
Contacts who have been contacted to sign up for newsletter.
Click Save.
After you have defined the next state, you can define the action that the engagement plan should perform on the contacts who meet the conditions specified in the previous state.
A small square in the middle of the arrow connects the condition with the new state. This is the where you define the actions that you want performed on the contacts who meet the condition that you defined for the first state.
To define an action:
On the arrow that connects the condition with the new state, click the square to open the Actions dialog box.
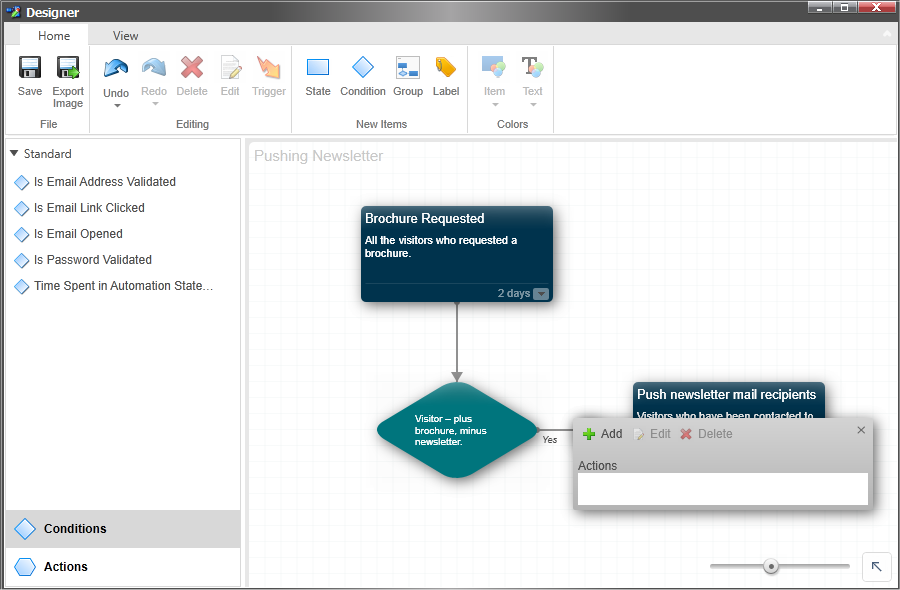
Click Add.
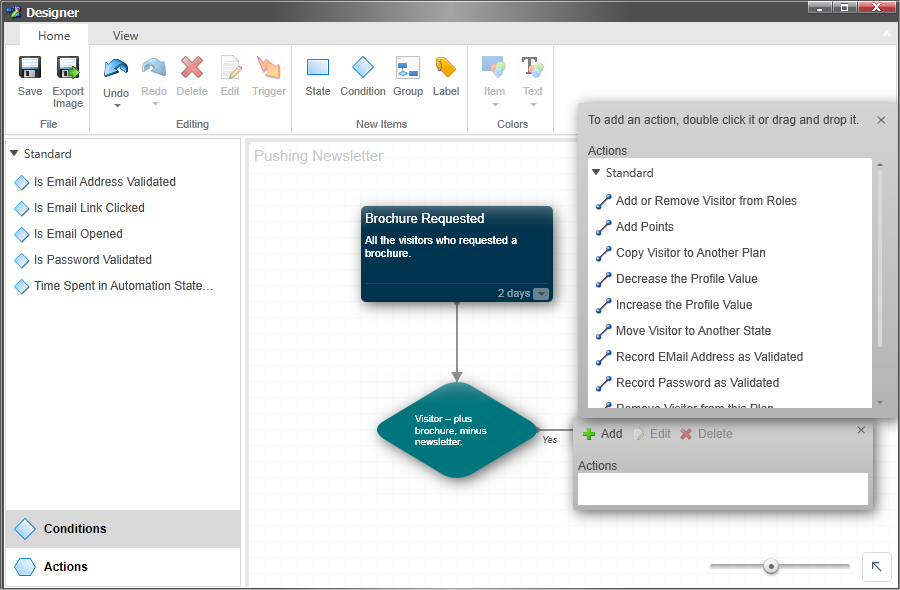
In the dialog box, double-click one of the available actions to add it to the Actions field.
For example, click the Send Email Message action to add it to your engagement plan.
In the Actions dialog box, click Edit to configure the action.
For example, if you click the Send E-mail Message dialog box, you can create a message that encourages your contacts to sign up for the newsletter.
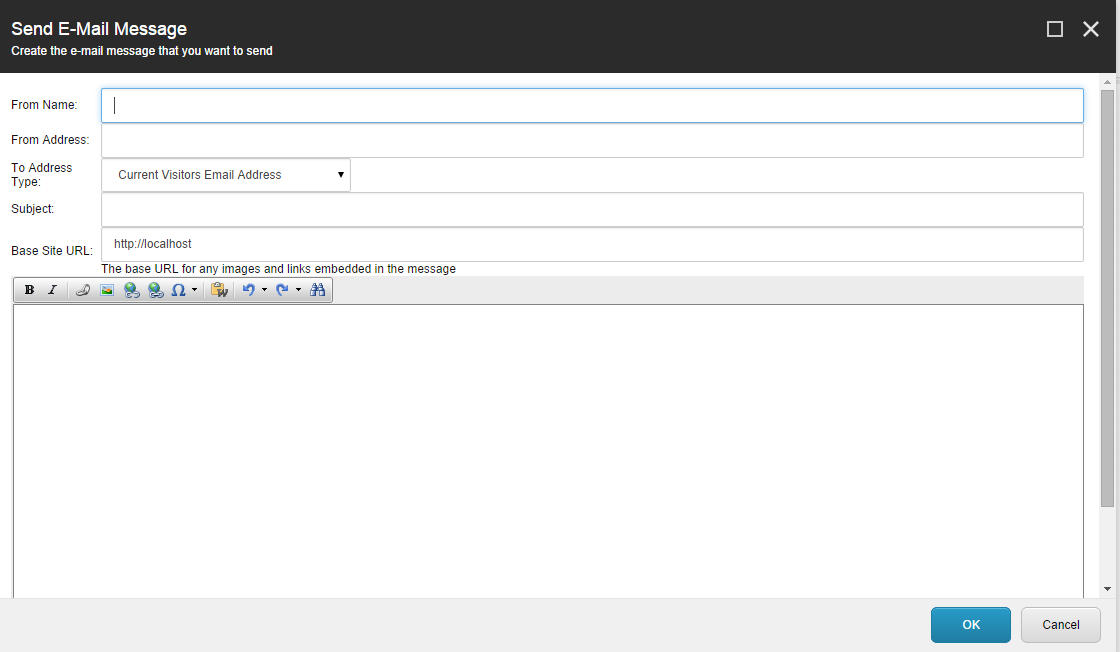
In the Designer, click Save.
The actions box in the engagement plan now displays the number 1. This indicates that you have defined one action.
You have now configured the actions that this engagement plan performs when contacts to your website meet the conditions that you specified for the first state.
You have now created a simple engagement plan. Before you can use the engagement plan on your website, you must deploy and publish it.
Engagement plans are in a workflow and you must ensure that they are in the final workflow state before you can publish them.
To deploy the engagement plan, in the Marketing Control Panel, select the engagement plan and on the Review tab, in the Workflow group, click Deploy.
The engagement plan is now in the final workflow state and you can publish it.
To publish the engagement plan, in the Marketing Control Panel, select the on the Publish tab, click Publish, Publish item.
The wizard will guide you through the publishing process.
An engagement plan can be very simple or much more detailed with several conditions for each state. For example, an engagement plan can contain conditions that evaluate whether contacts who received an e-mail message actually opened it, and whether they clicked the link to a newsletter subscription form that the message contains. You can use timeout triggers to send periodic e-mail messages to contacts who have not registered for the newsletter, and additionally you could use personalization rules containing criteria about the contact's location or browsing patterns to make the content contained in the e-mail more relevant.