Import and export contacts from a list
Import contacts from a file or from a third party system.
In situations where you want to transfer contacts to Sitecore from a third-party system (for example, a CRM system) or where you have purchased a list of new leads from a marketing company, you can import these contacts from a CSV file directly into a list in the List Manager.
Similarly, if you want to transfer contacts from Sitecore to a third-party system or create a backup of your contacts, you can export the contacts that are included in a list.
Note
For Sitecore to recognize special characters in the CSV file, you must encode it in UTF-8. Furthermore, Sitecore only supports comma as a separator.
This topic outlines how to:
In the List Manager, there are two ways to import contacts:
Import contacts to the contacts database.
Import contacts and add them to a new Contact list.
To import new contacts:
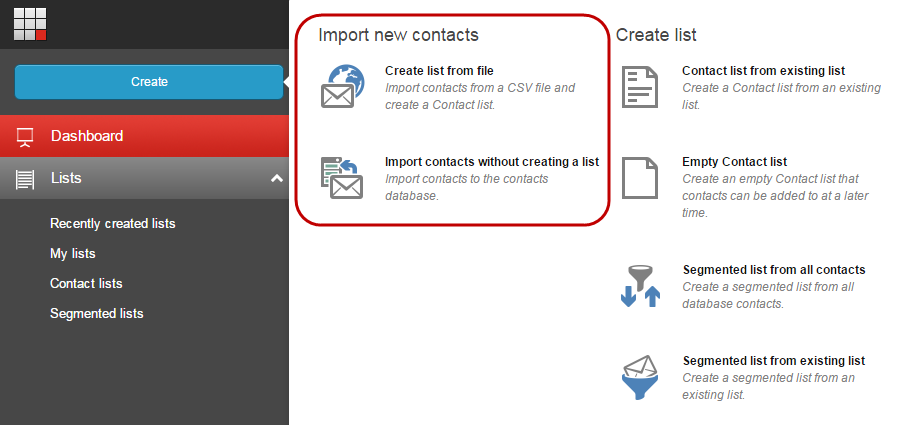
In the List Manager, click Create and in the menu that appears, in the Import new contacts section, click:
Import contacts to database to import contacts from a CSV file to your Analytics database.
Create list from file to import contacts from a CSV file and include the contacts in a new Contact list.
Note
The first row in a CSV file is a header and it is not imported.
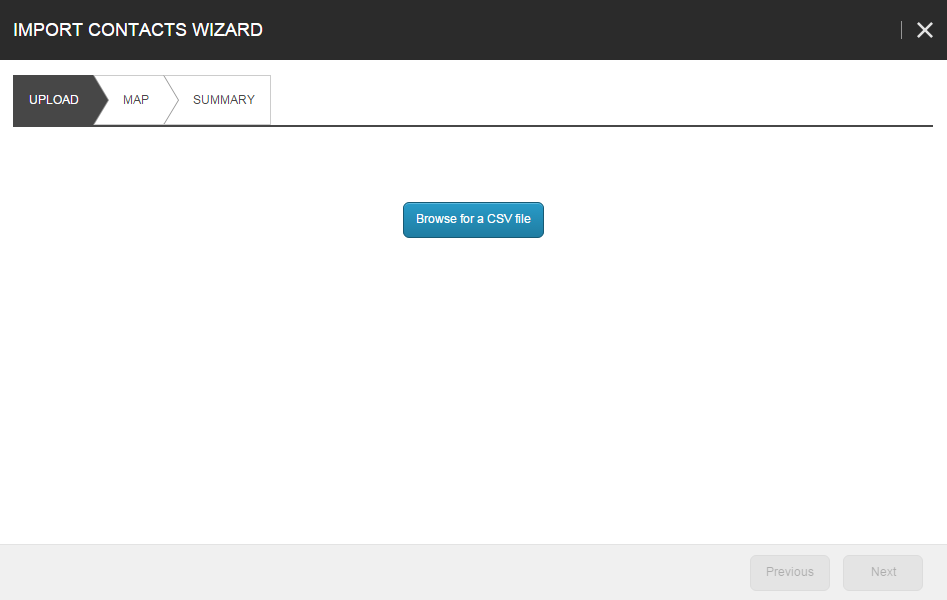
In the Import Contacts wizard, on the Upload tab, click Browse for a CSV file.
In the Open dialog box, click the CSV file with the new contacts and then click Open.
Note
You can import only one file at a time. If you want to upload a different file, you must click Remove to remove the file that is ready for upload.
Click Upload file and when the file has uploaded, click Next.
On the Map tab, map the fields in the file with the fields available in Sitecore.
For each required Sitecore field, in the File field drop-down menu, select the equivalent field in the CSV file.
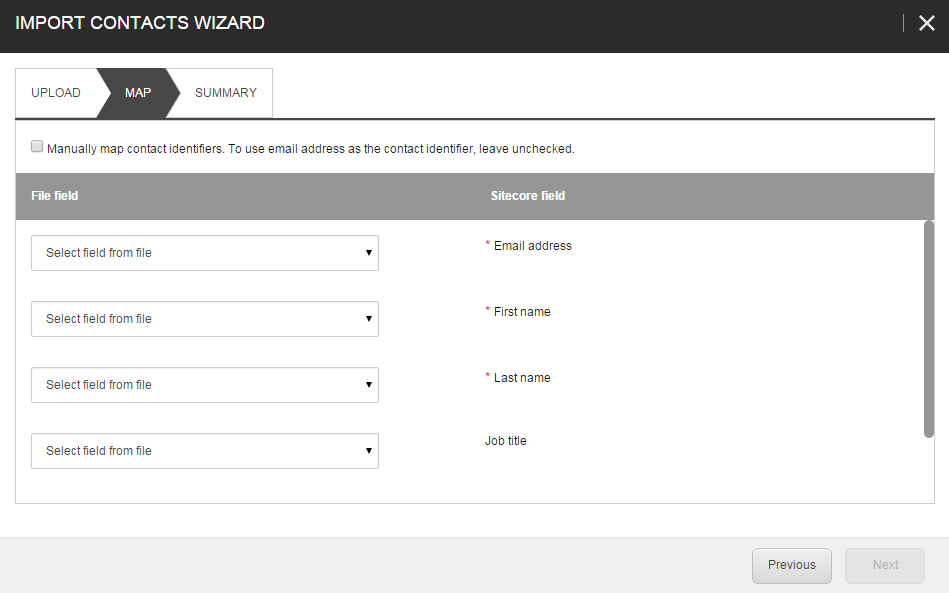
If you do not want to use the email address as the contact identifier, select the Manually map contact identifiers check box and then for the Identifier that appears, select the field in the import file that you want to use as the unique identifier for the contacts.
Important
List Manager uses the contact identifier to identify the contacts in your database and to ensure that unnecessary duplicates are not created when you import new contacts. Therefore, before you import a list of contacts, it is important that you create a strategy for the contact identifier. For example, if you use the contact's date of birth or zip code in combination with the first name, this makes a more suitable contact identifier than an email address alone. Using the email address as the contact identifier can result in a contact appearing multiple times in the database if they have more than one email address.
When you have finished mapping the fields, click Next.
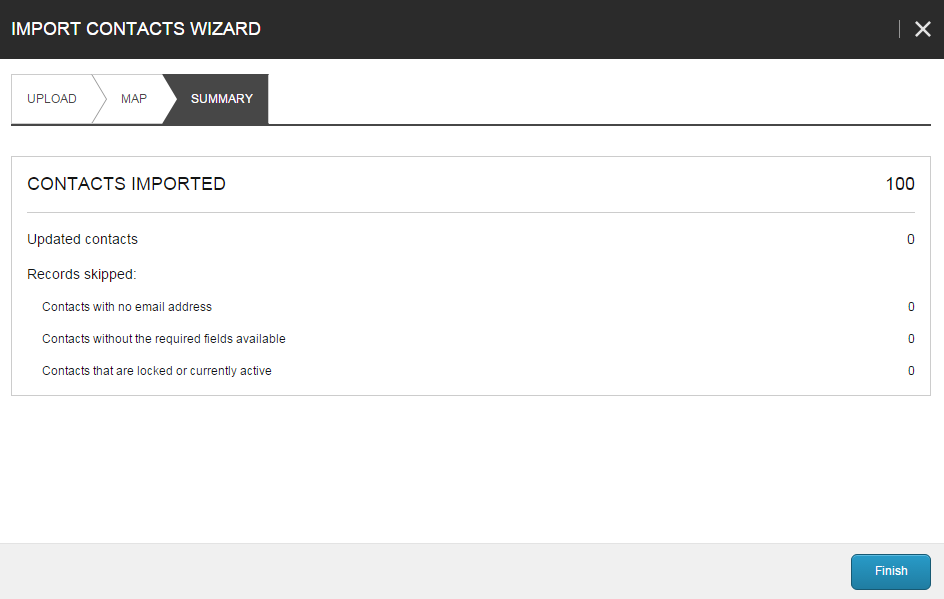
On the Summary tab, make sure that the import settings are correct and then click Finish.
Note
The Updated contacts shows the number of contacts in the import file that were already in the database and therefore only updated with any missing information.
If you clicked Import contacts to database, the contacts are added to the database.
If you clicked Create list from file, the new contact list opens with the imported contacts included. Rename the new list and click Save.
Note
Depending on the number of contacts that you import, it can take some time to import and index all the contacts. You will get a system notification, when all the contacts have been included.
You can export contacts from either a Segmented list or a Contact list to a CSV file.
To export contacts from a list:
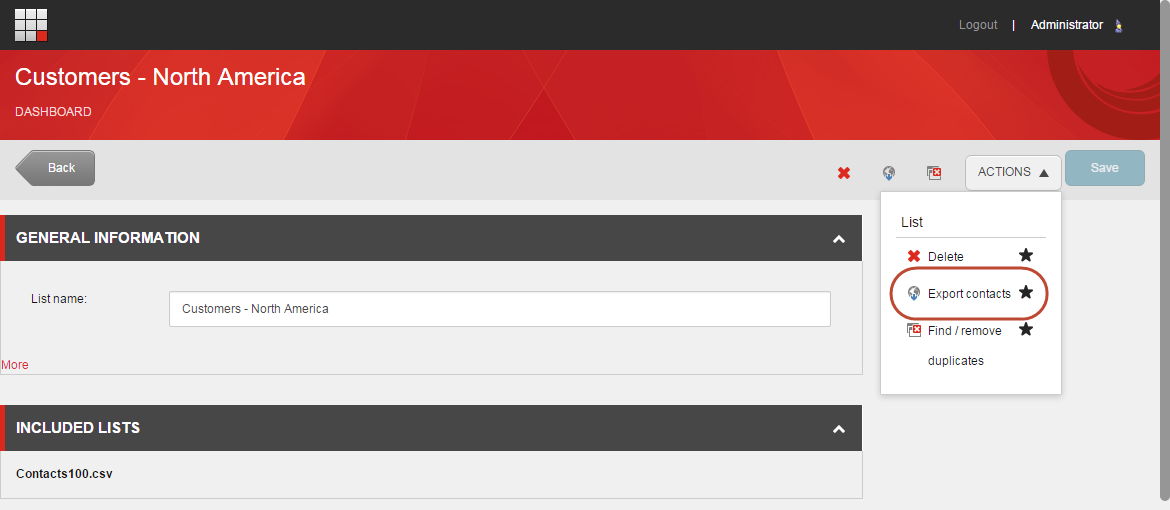
In the List Manager, find and open the list that contains the contacts that you want to export.
On the list page, click Actions and then click Export to a CSV file.
Find the downloaded CSV file in your default download folder on your local computer.